The purpose of creating shared text content is to make it available or share it with other parts of the website. It can be access one of two ways:
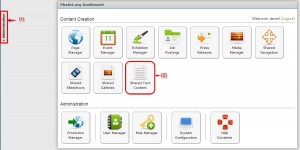
- Clicking the Administration Tab
- Clicking the Shared Text Content button on the Dashboard.
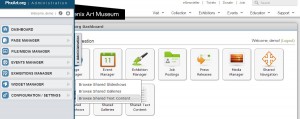
When the Administration tab is clicked, the following option becomes available through the Widget Manager:
Either the Dashboard option or the Administrative Tab option will land you on the following page:
How to Edit Shared Content
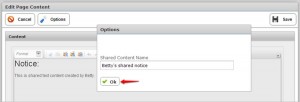
Click “Edit” button next to the shared content name (in this example, Betty’s Shared Notice).
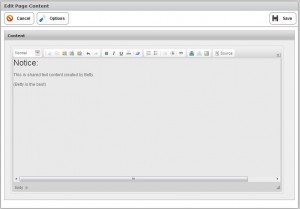
You will arrive at the following screen. (The change that will be made: deleting (Betty is the best)
By clicking “Options”, you are given the following options screen.
Whatever you type in the Options box the Shared Content Module is the name of the content. Click OK. If you have finished your editing, click “Save” on the above module.
You will be taken back to the Shared Text Content module.
How to Add New Shared Text Content
Click “+ Add Shared Text Content”
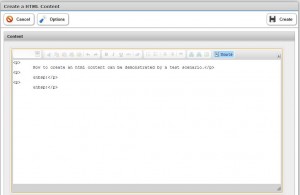
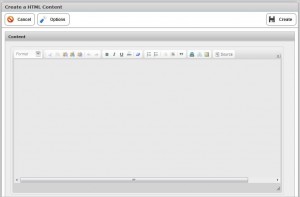
The following module will open. Type your text in the content box. (Note: You may also right-click your mouse and a “Paste” option would become available. This would enable you to paste text from a word processing program.)
You will also note that the following module contains a WYSIWYG editor; this means that you can type regular text into the Content area and it converts it to html.
The following test example is used for learning purposes.
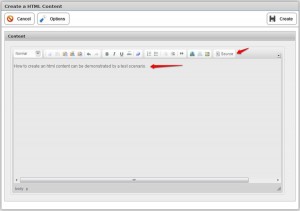
Enter text into the Content box.
Next, let’s see what the html content looks like. Click “Source.” This is what you will see.
Click “Source” again to get back to the regular content box.
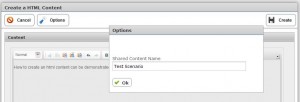
Next, click “Options” to get the following screen, where you will enter the name of the content.
We will call our content “Test Scenario”. Click “OK” in the Options module. Click “Create.”
You will land on the following screen. Note that the new shared content, “Test Scenario, “has been added to the Shared Text Content module.
