Website Roles

This feature allows you to set up website roles.  It enables you to designate the resources that users of  Nlets website are allowed to access. Please keep in mind that your company’s role structure and role names may differ from the examples presented in this document.

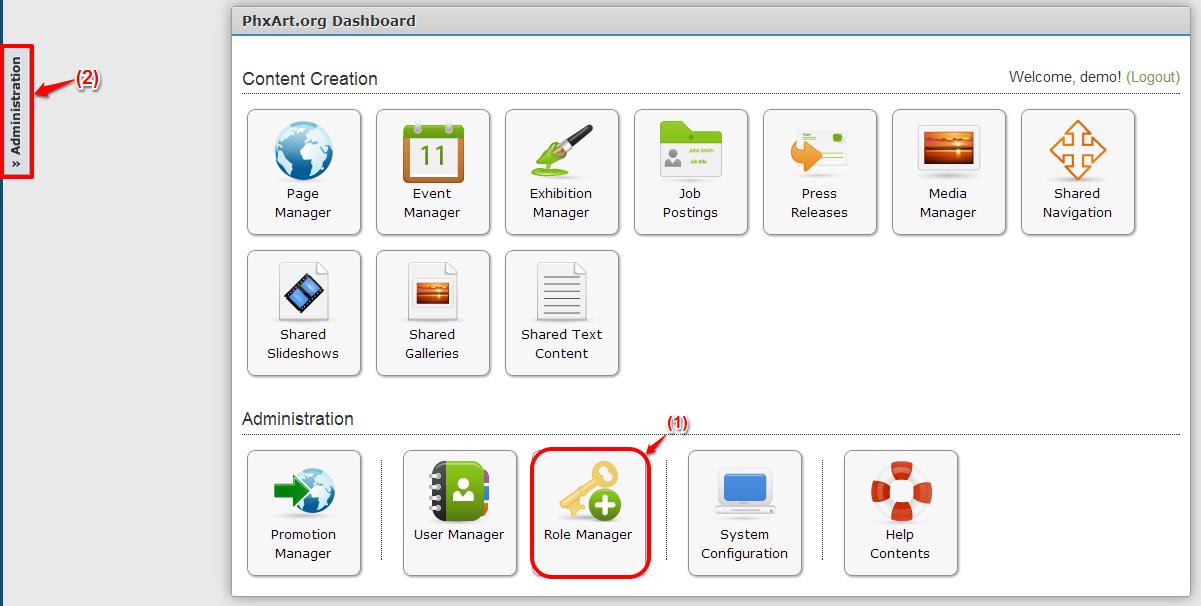
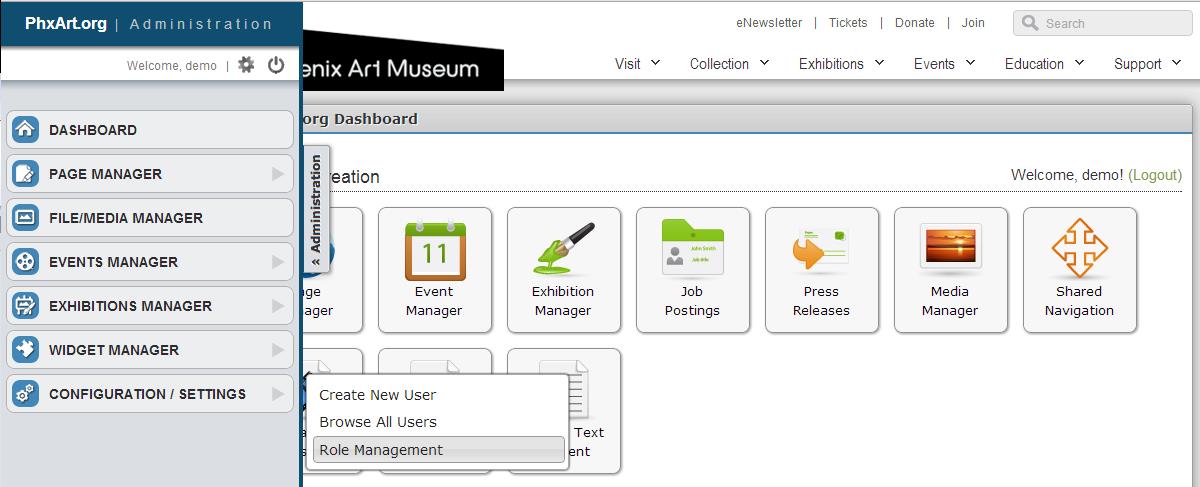
Click the “Website Roles” button on the Administration section of the Dashboard.

WR1

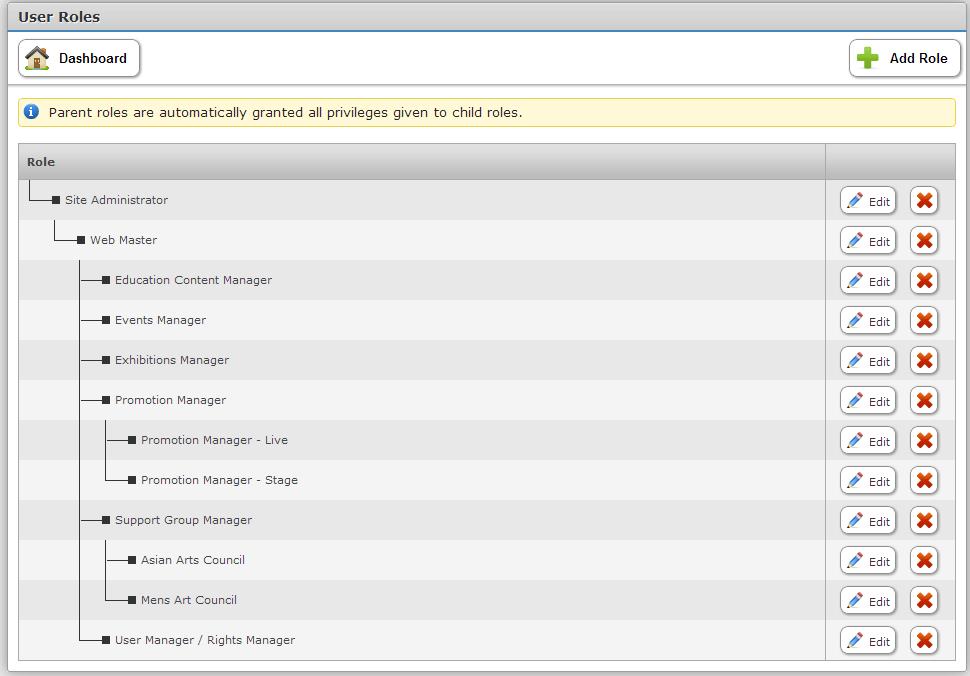
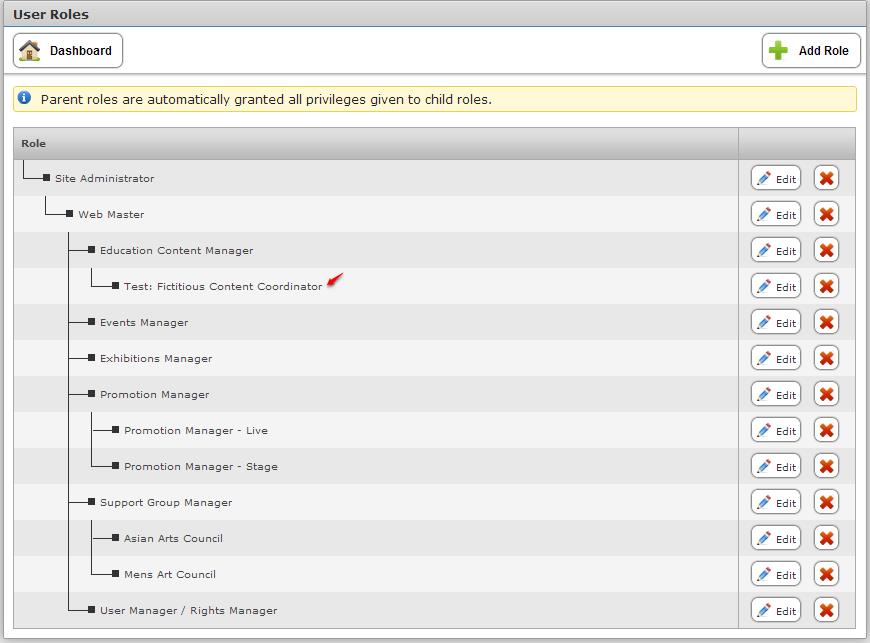
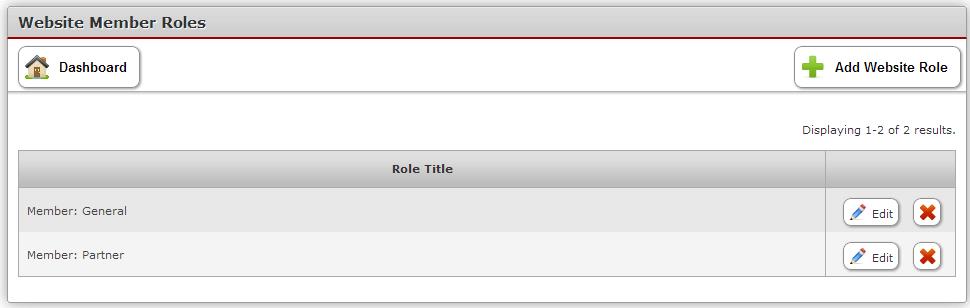
You land upon the following module.

WR2

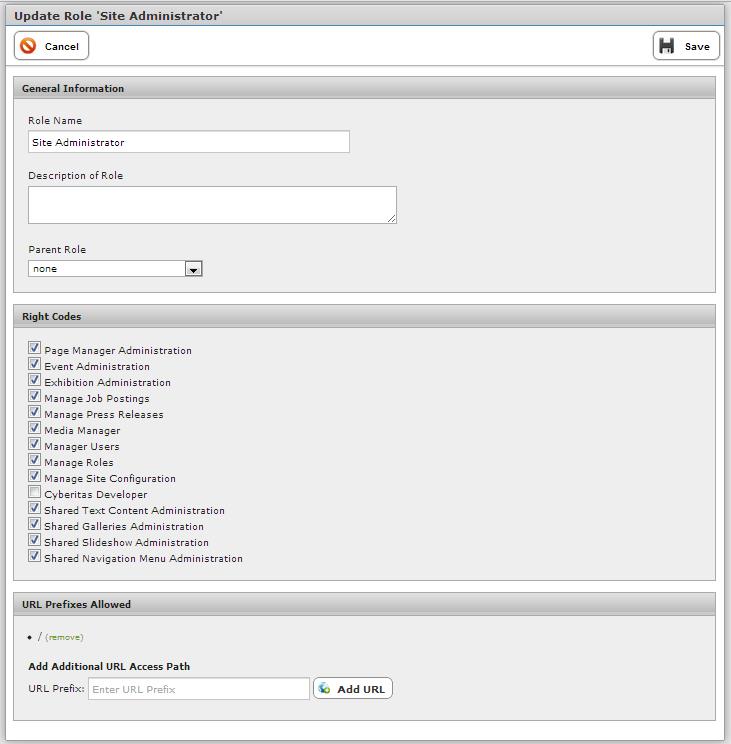
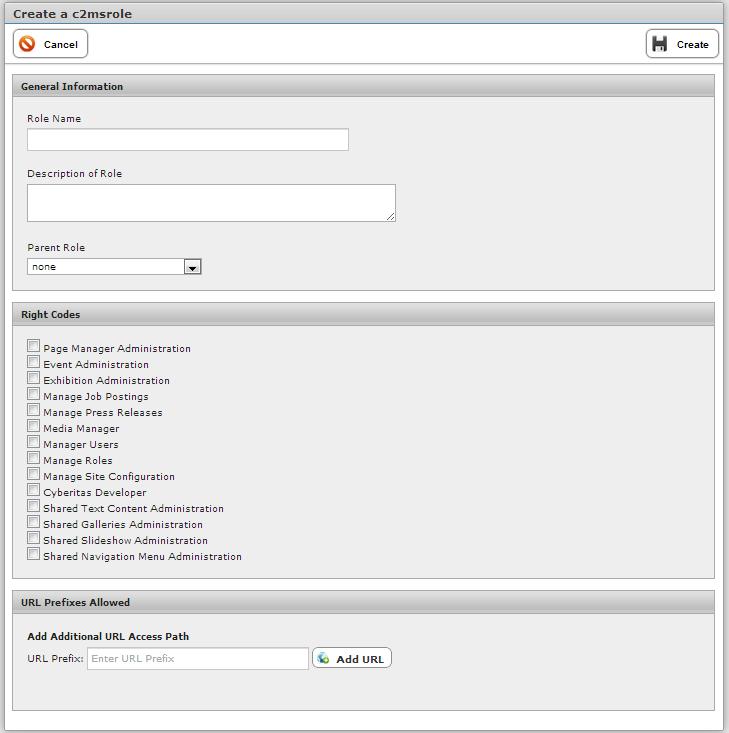
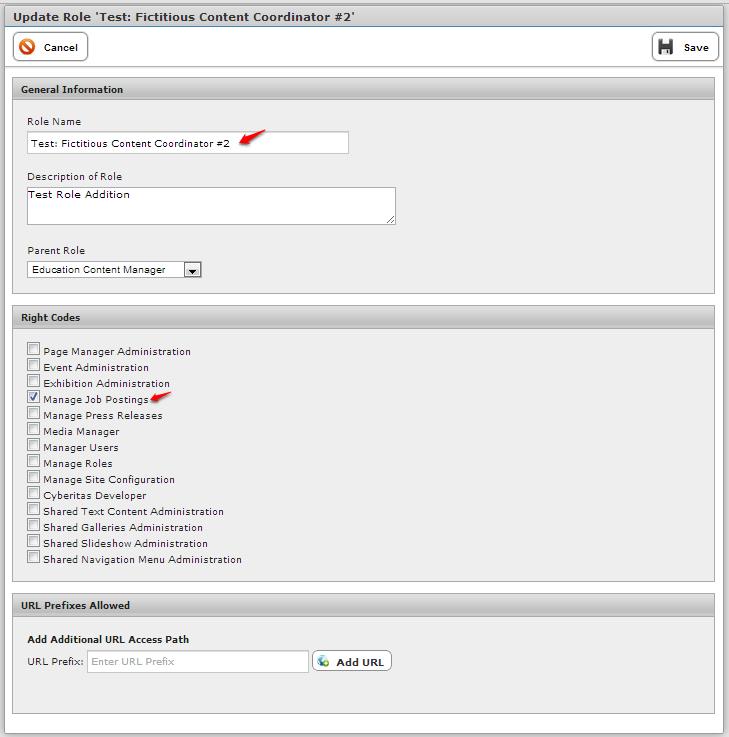
To add a new Website Role, click “+ Add Website Role.”  The following module becomes available:

WR3

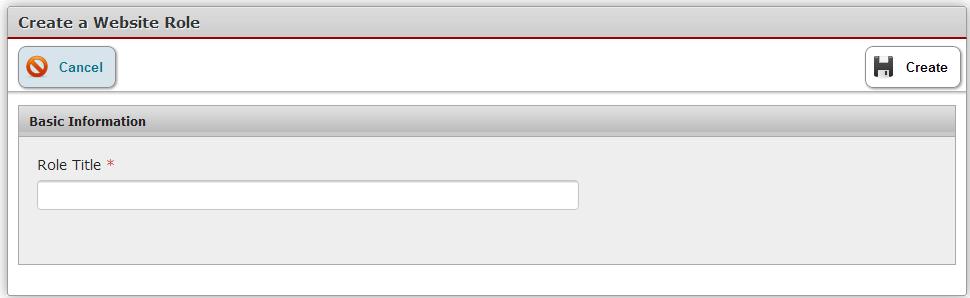
Enter the Role Title and click “Create.”

WR5

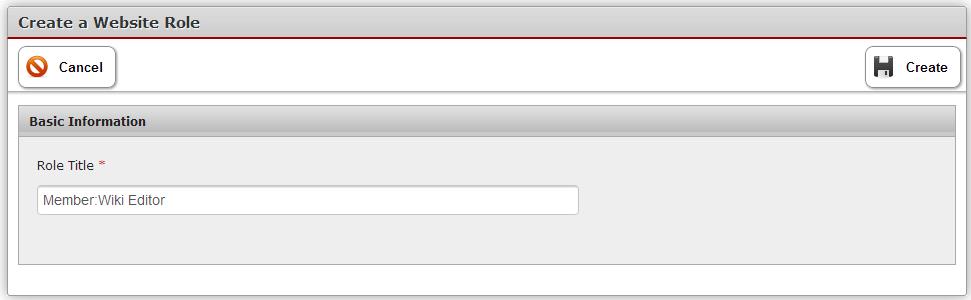
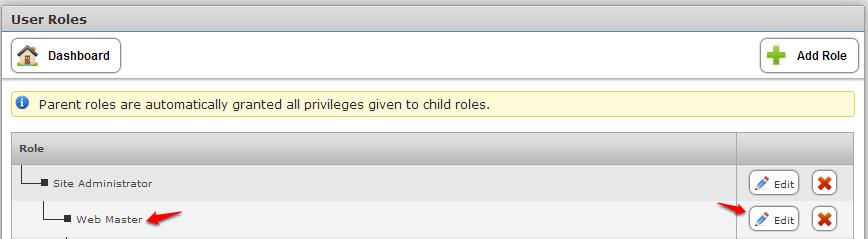
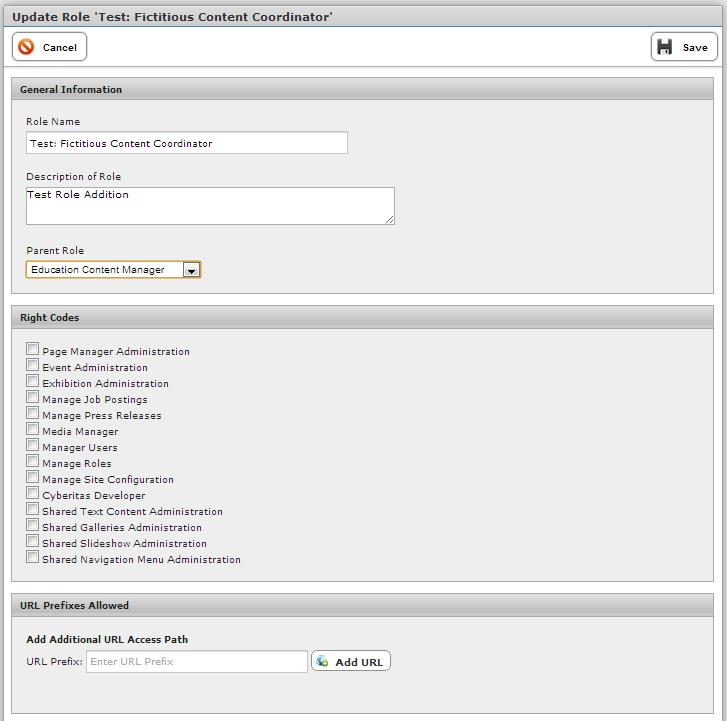
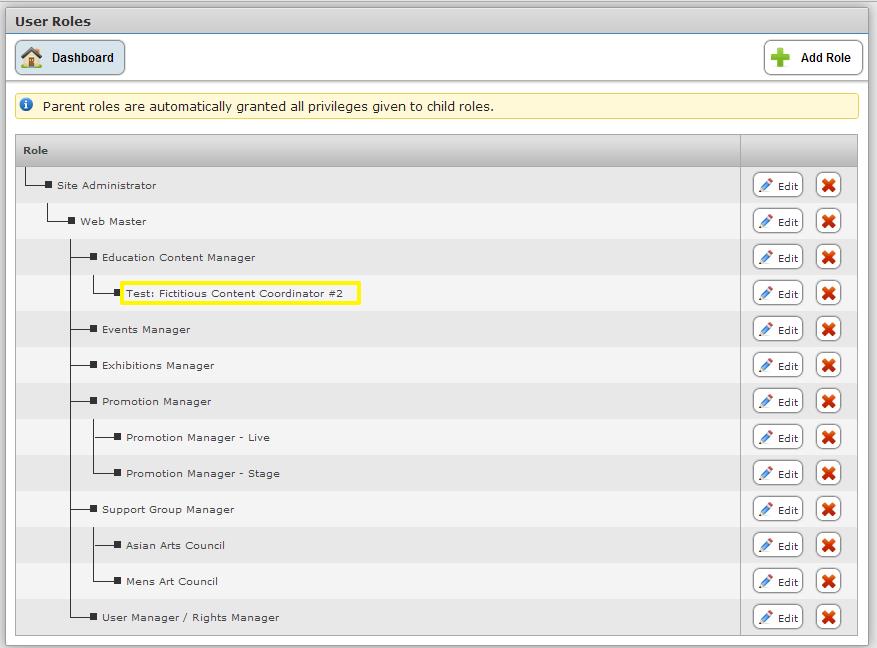
As you can see on the next example, “Member: Wiki Editor” has been added to the Role Titles.

WR6

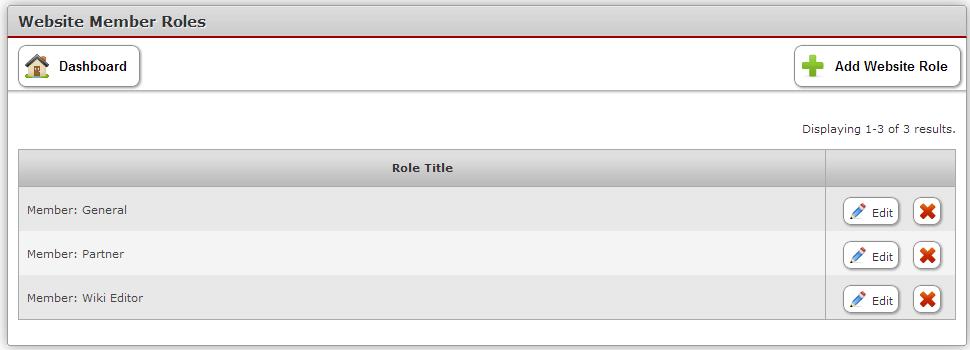
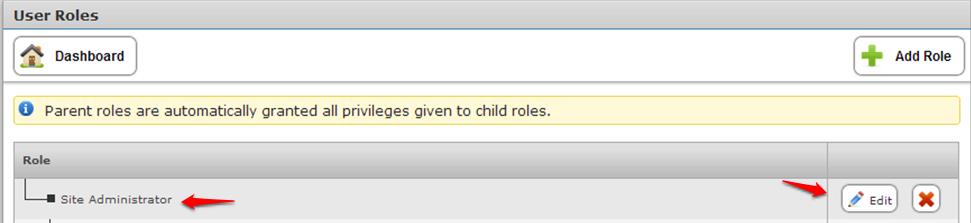
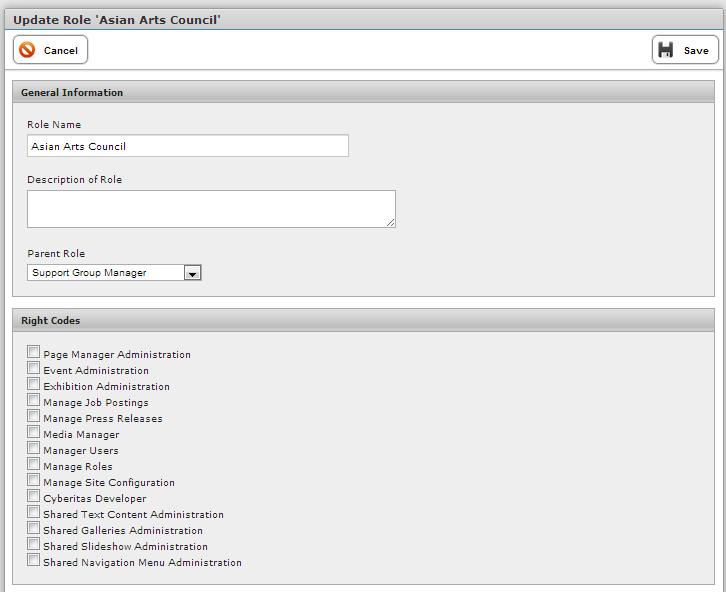
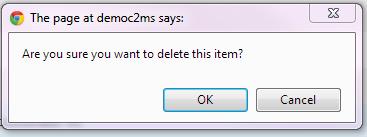
To Edit a role, click “Edit” on the item you need to edit.  To Delete a role, click the red “X.”

Role Manager

The purpose of role management is to manage authorization, which enables you to specify the areas that users of your company’s website are allowed to edit.  Please keep in mind that your company’s role structure and role names may differ from the examples presented in the following pages.

The User Roles module can be accessed one of two ways:

Role1

(1)       The Dashboard – click on the Role Manager button.  (See the following screenshot).

(2)       The Administration Tab – click on the tab, mouse-over the Configuration/Settings button, then slide down the menu to “Role Management” and click.  (See the following example).

Role2

Whichever access method you choose will land you on the following module.

Role3

The Site Administrator

The Site Administrator is the “Parent” at the highest level within the structure represented in the above example.  Therefore, he/she would be automatically granted all the privileges (or Rights) given to the child roles.

Next, we will review the ‘Update Role ‘Site Administrator’ module.  To open that module, you would click the “Edit” button on that line.  (See the examples provided on the following pages).

Role4

Notice that the Site Administrator has no Parent Role selected. In the Right Codes listing, functions are listed that represent various task sets.  “Right” means that the System Administrator has the privilege to access most of these resources and perform related functions.

Role5

The Web Master

You will note that the Update Role ‘Web Master’ is very similar to the Site Administrator form, in that most of the Right Codes have been check-marked.  However, in the Parent Role drop-down, “Site Administrator” has been selected as the parent role.

Role6

Role7

Roles that are parented by the Web Master:

  • Education Content Manager
  • Events Manager
  • Exhibition Manager
  • Promotion Manager
  • Support Group Manager
  • User Manager/Group Manager

Note: While the only example included is for Education Content Manager, the other role types in the above list have nearly identical ‘Update Role’ Modules

Roles that are parented by the Promotion Manager:

  • Promotion Manager – Live
  • Promotion Manager – Stage

Note: While the only example included is for ‘Promotion Manager – Live,’ please understand that ‘Promotion Manager – Stage’ has a nearly identical ‘Update Role’ Module.

Role10

Roles that are parented by the Support Group Manager:

  • Asian Arts Council
  • Men’s Art Council

Note: While the only example included is for ‘Asian Arts council’ please understand that ‘Men’s Art Council’ has a nearly identical ‘Update Role’ Module

Role11

How to Create a New Role

On the User Roles module Click “+ Add Role.” You will open the following module:

Role12

The following is a fictitious role created for learning purposes.

After completing all information, you would click “Save.” (or if you change your mind, click “Cancel.”)

Role13

After you have clicked “Save”, the following updated User Roles module is created: (See the new Role marked with a red checkmark.)

Role14

In this instance, the Parent is the Education Content Manager, and the “child” is the new role, “Test: Fictitious Content Coordinator.”


How to Edit a Role

Using the most recently created “Test: Fictitious Content Coordinator,” click “Edit”.

After making desired changes (in this instance, see red arrows for items edited), click “Save”.

Role15

This newly-revised User Role module will appear.  (Note the edited role highlighted in yellow).

Role16

How to Delete a Role

Let’s delete our test case.  Go to the red “X” on the same line as the test case.  You will get the following screen:

Role8

Click “OK.”  If you change your mind, you may click “Cancel.”