Shared Text Content

The purpose of creating shared text content is to make it available or share it with other parts of the website.  It can be access one of two ways:

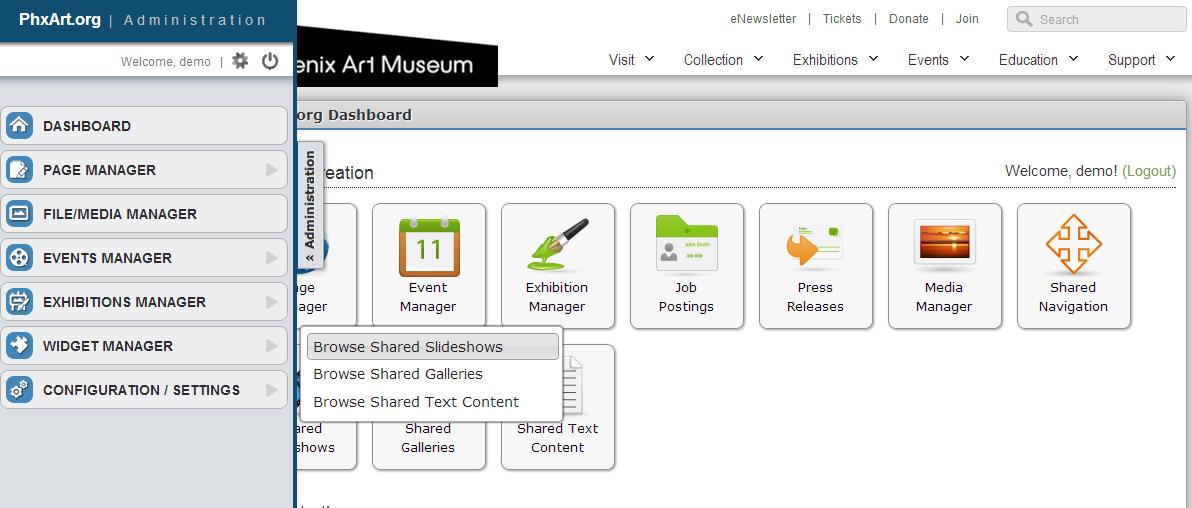
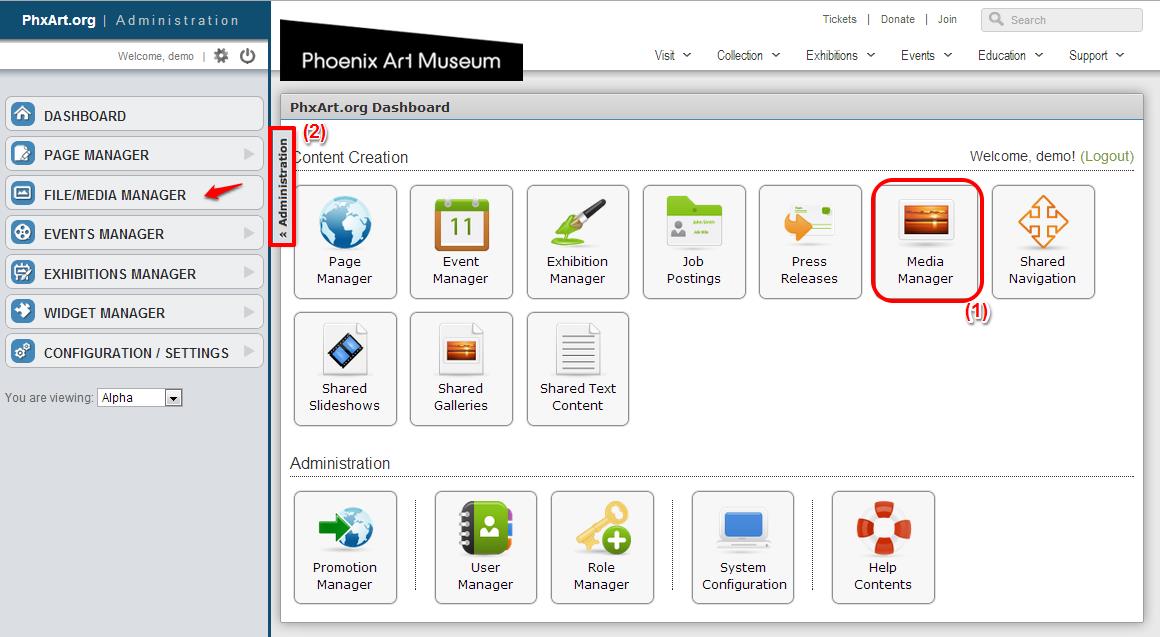
  1. Clicking the Administration Tab
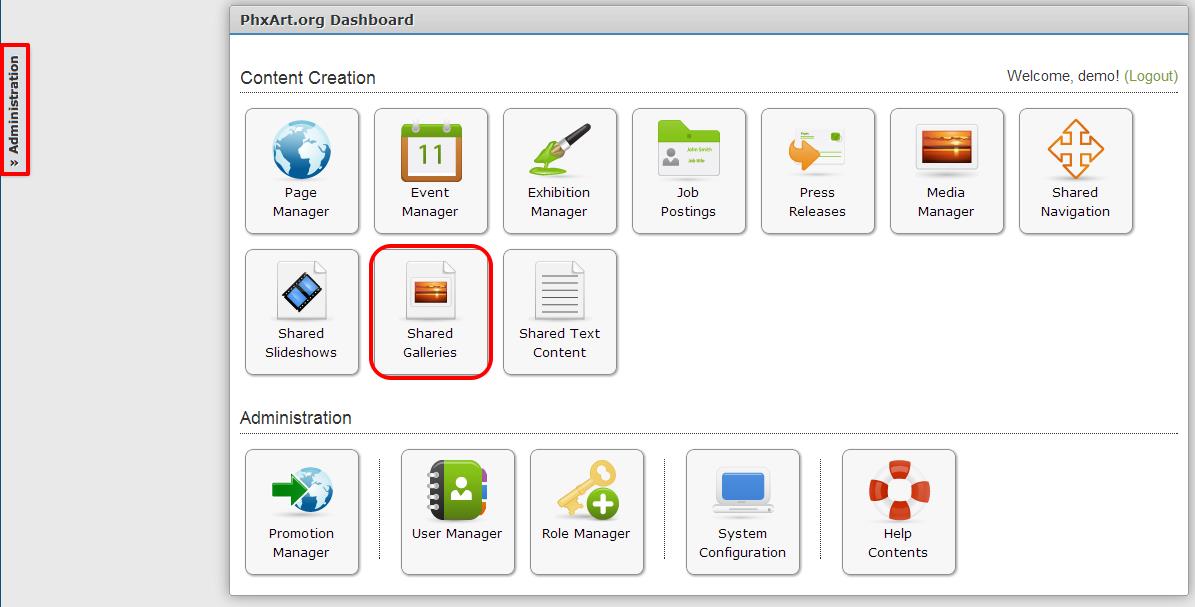
  2. Clicking the Shared Text Content button on the Dashboard.

SharedTC1

When the Administration tab is clicked, the following option becomes available through the Widget Manager:

SharedTC2

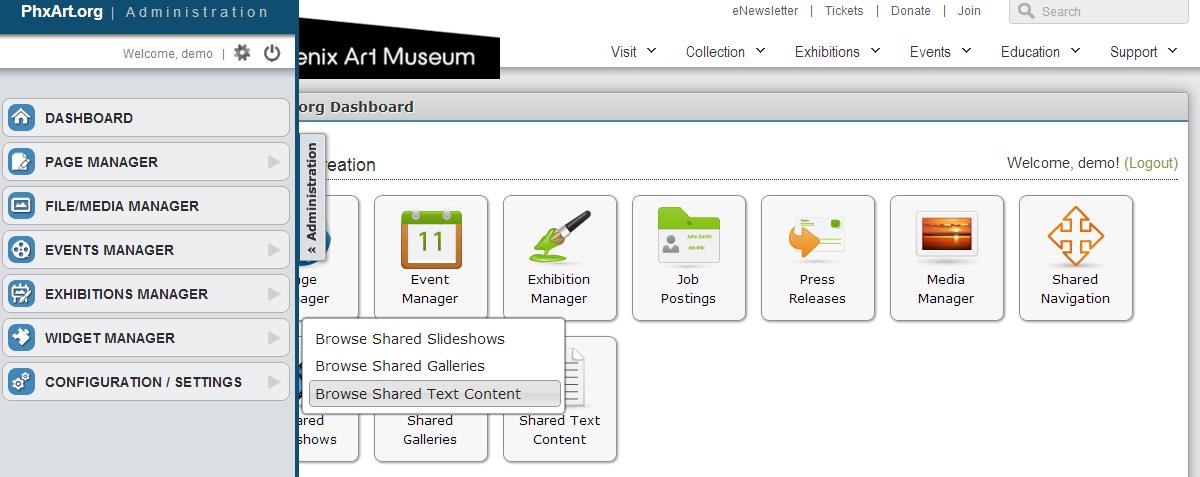
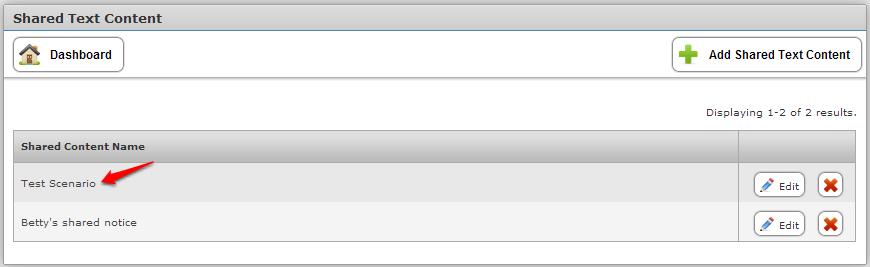
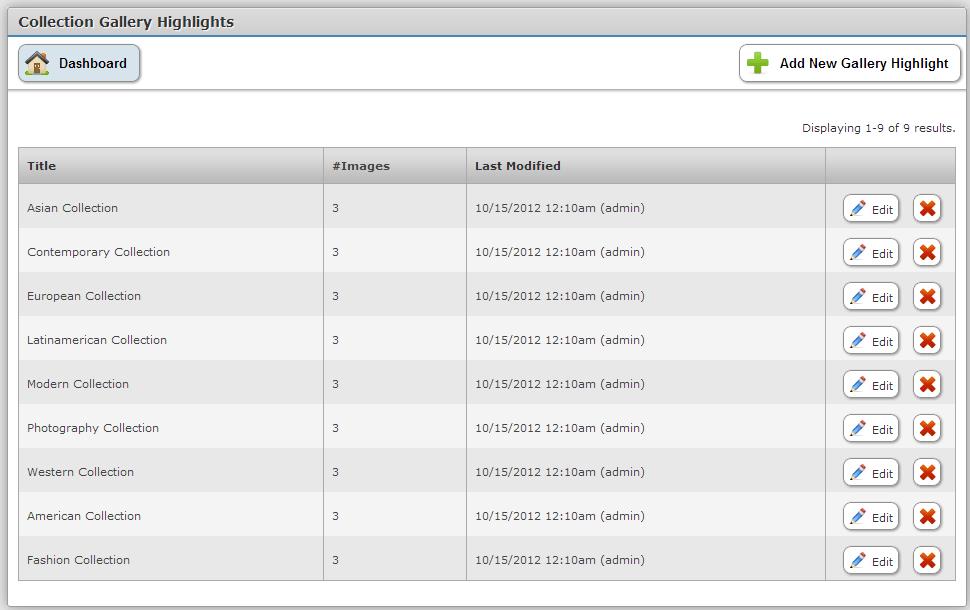
Either the Dashboard option or the Administrative Tab option will land you on the following page:

SharedTC3

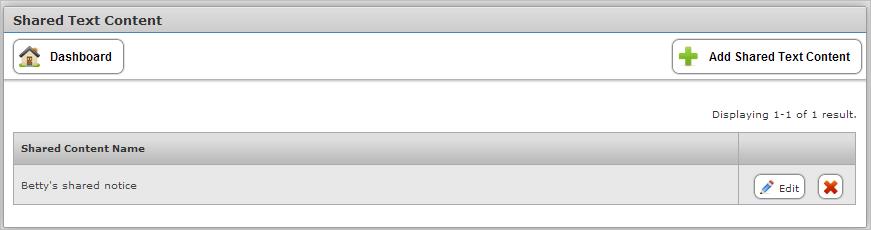
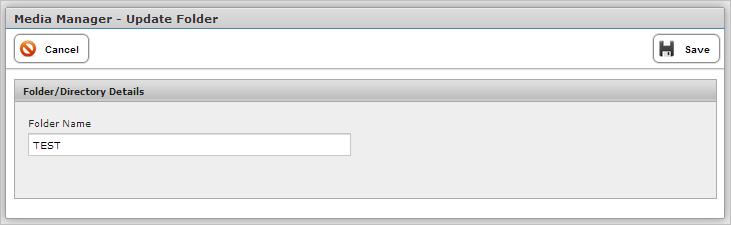
How to Edit Shared Content

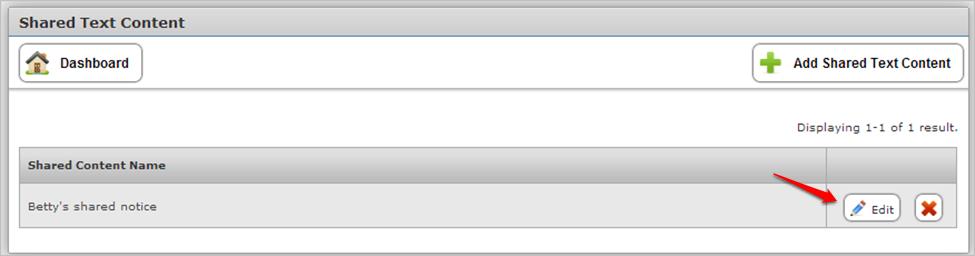
Click “Edit” button next to the shared content name (in this example, Betty’s Shared Notice).

SharedTC4

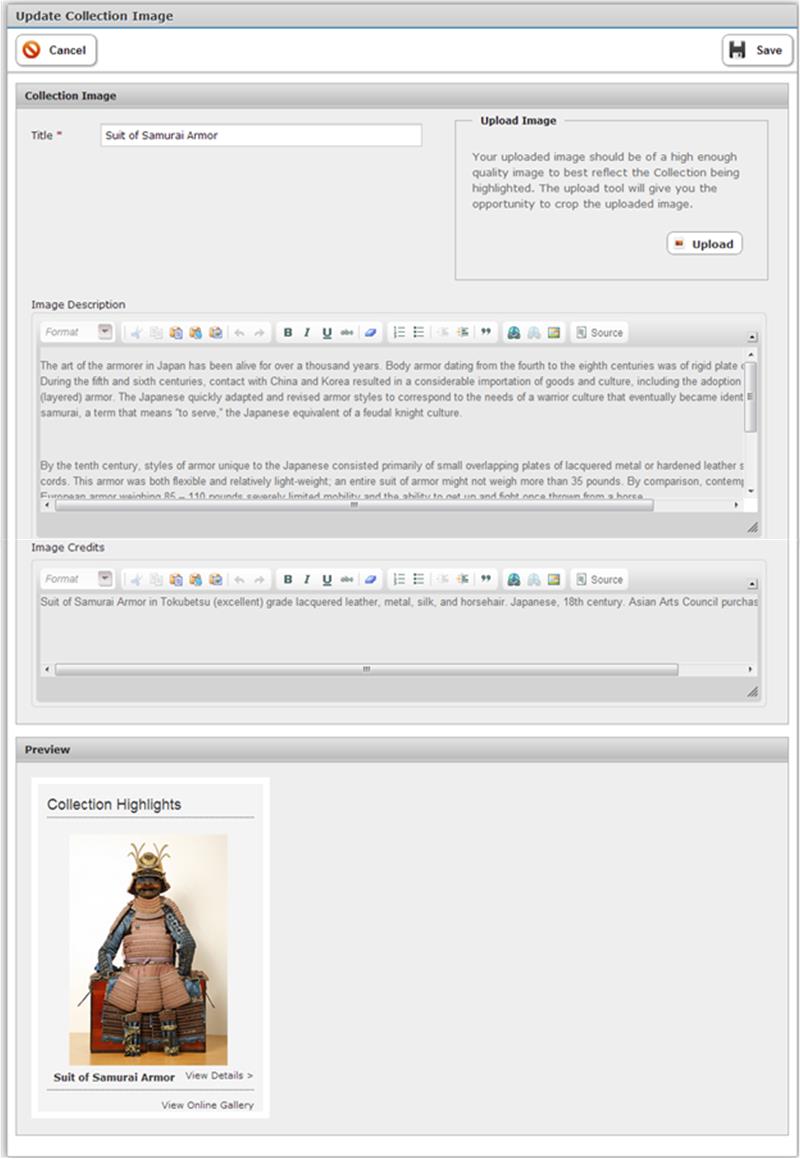
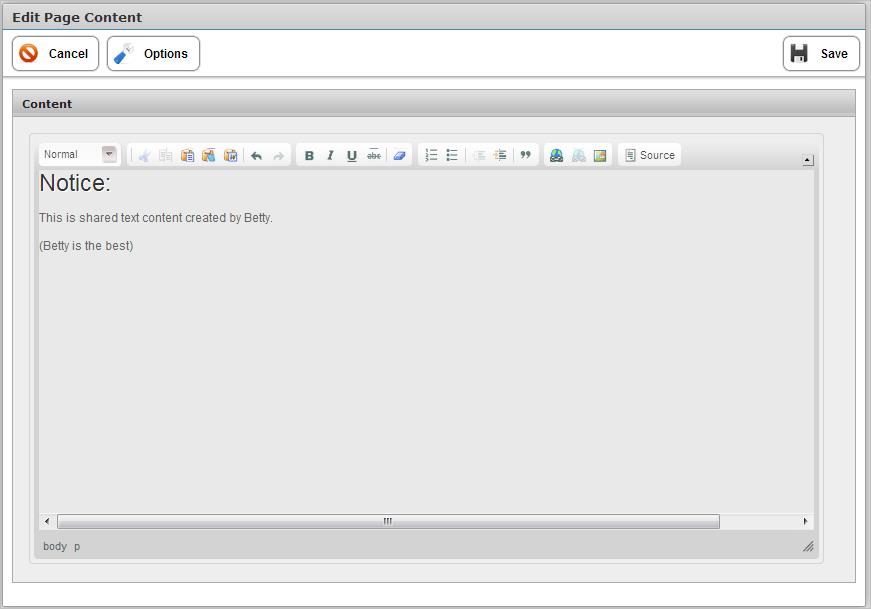
You will arrive at the following screen.  (The change that will be made: deleting (Betty is the best)

SharedTC5

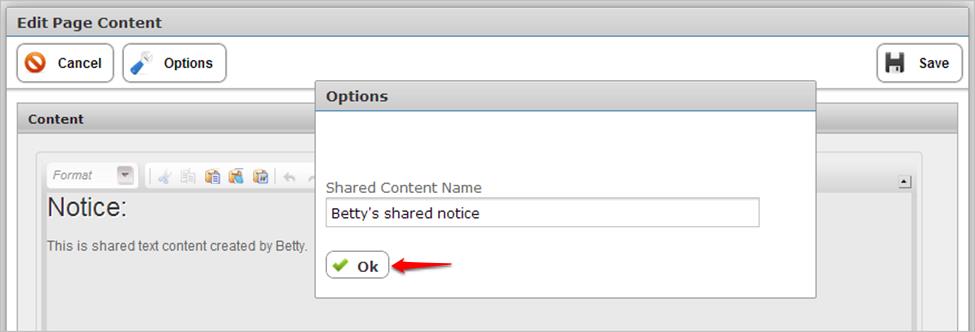
By clicking “Options”, you are given the following options screen.

SharedTC11

Whatever you type in the Options box the Shared Content Module is the name of the content. Click OK.  If you have finished your editing, click “Save” on the above module.

SharedTC7

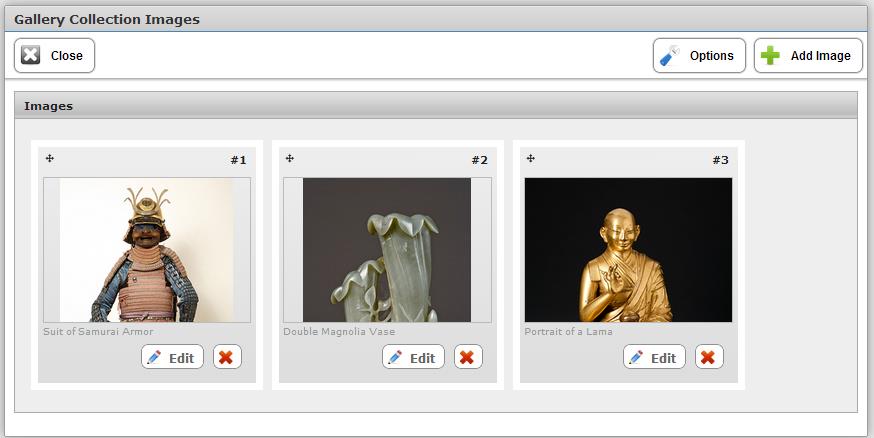
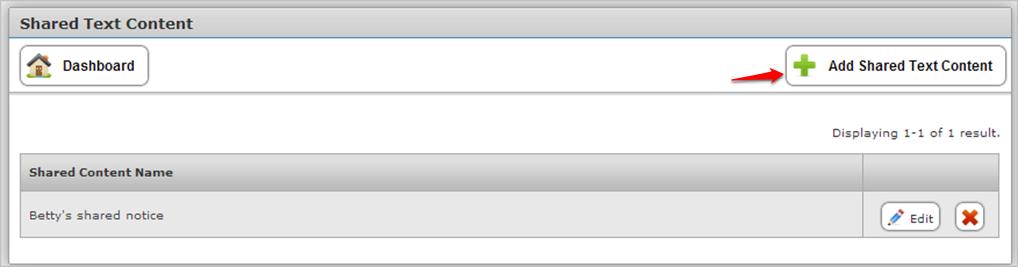
You will be taken back to the Shared Text Content module.

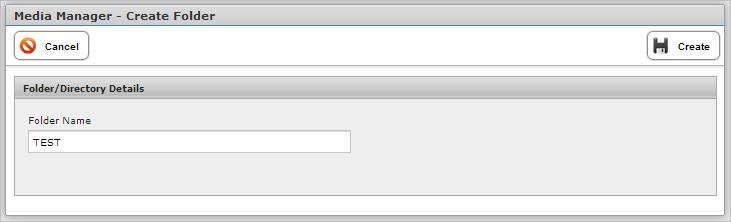
How to Add New Shared Text Content

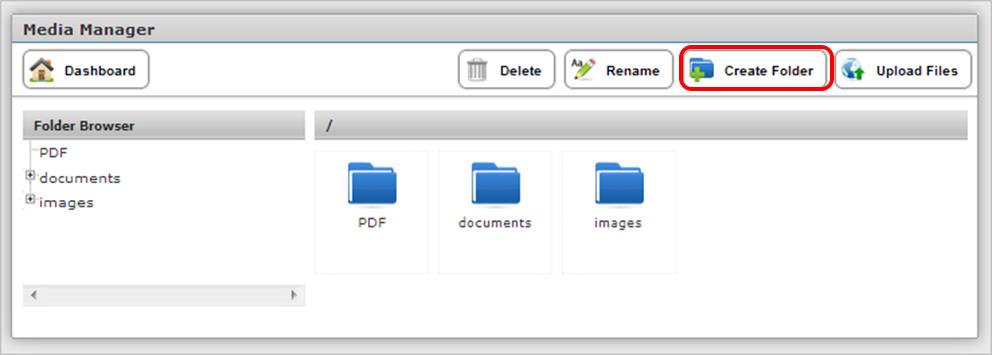
Click “+ Add Shared Text Content”

SharedTC8

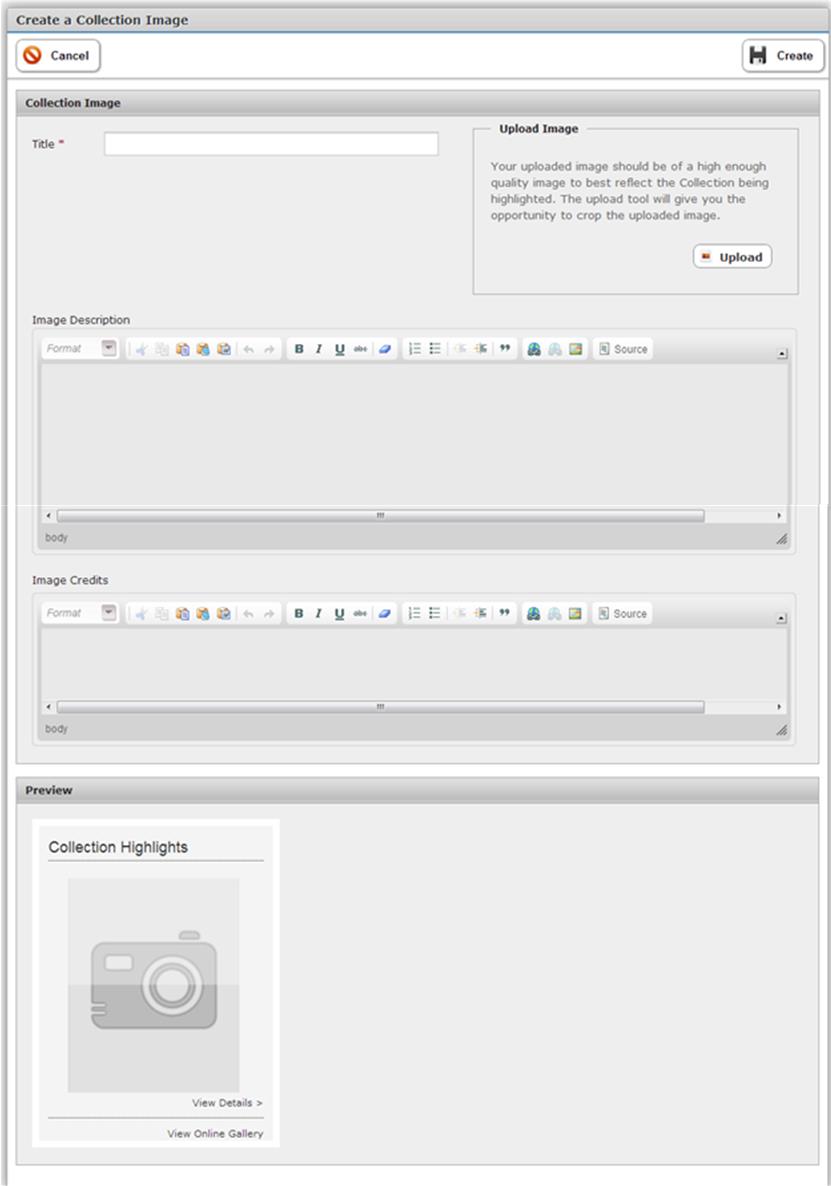
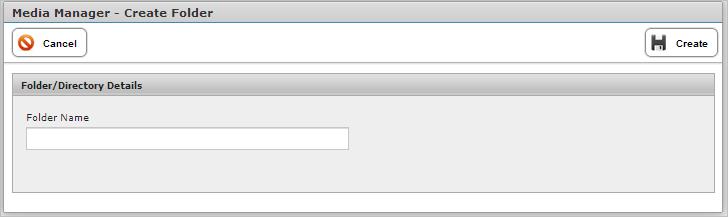
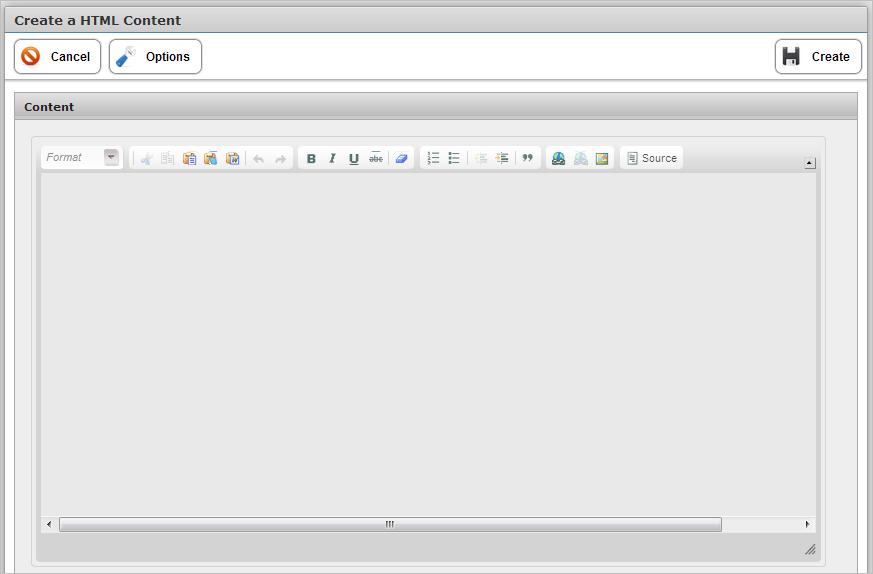
The following module will open.  Type your text in the content box. (Note: You may also right-click your mouse and a “Paste” option would become available. This would enable you to paste text from a word processing program.)

You will also note that the following module contains a WYSIWYG editor; this means that you can type regular text into the Content area and it converts it to html.

SharedTC9

The following test example is used for learning purposes.

Enter text into the Content box.

SharedTC10

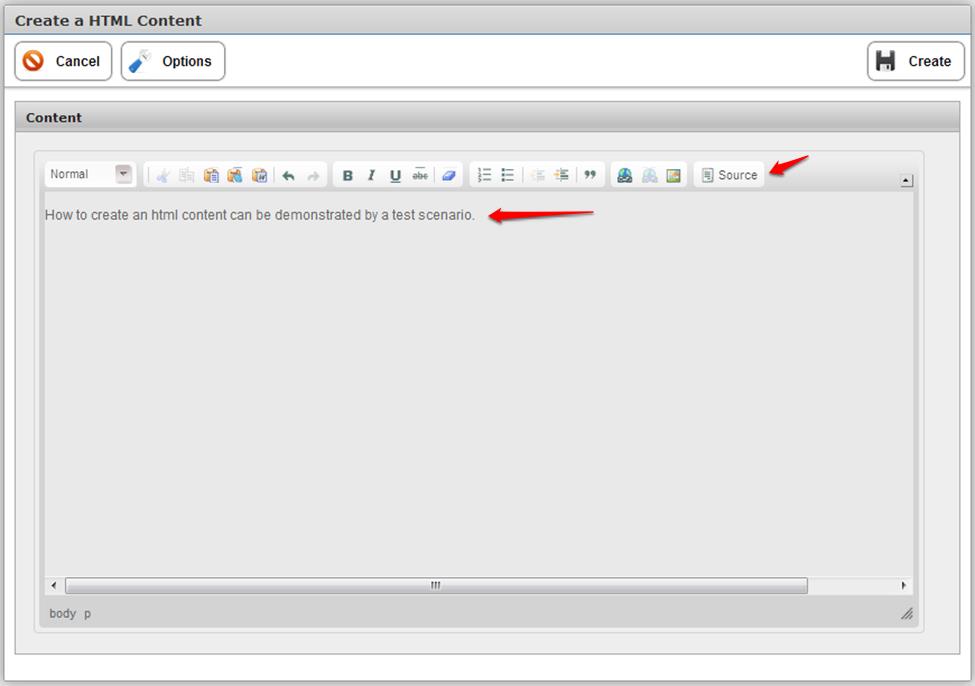
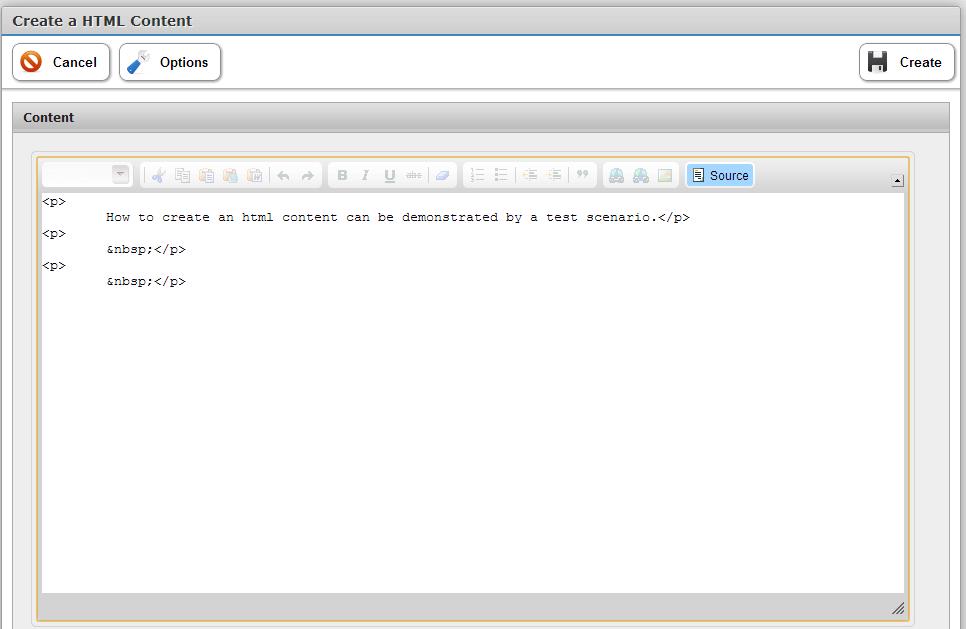
Next, let’s see what the html content looks like.  Click “Source.”  This is what you will see.

SharedTC11

Click “Source” again to get back to the regular content box.

Next, click “Options” to get the following screen, where you will enter the name of the content.

SharedTC12

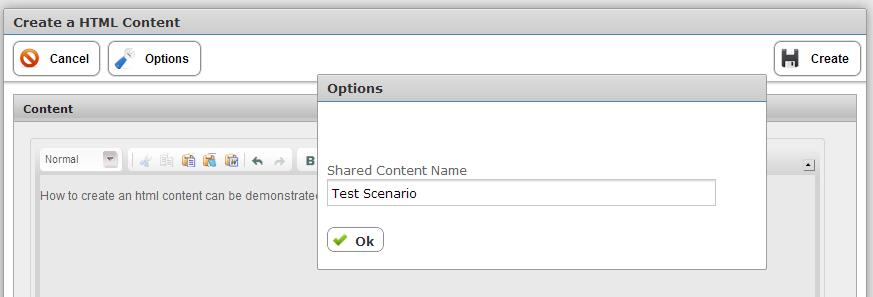
We will call our content “Test Scenario”.  Click “OK” in the Options module. Click “Create.”

You will land on the following screen.  Note that the new shared content, “Test Scenario, “has been added to the Shared Text Content module.

SharedTC13

Shared Galleries

The Shared Galleries module allows you to share your photos and images with selected categories. Photos and images are automatically added to the display widget, where they are categorized for display in either chronological order or by content category.  These widgets  that can be shared on other areas of the website.

 In the Phoenix Art CMS, “Shared Galleries” contains the Collection Highlights for each collection category.  The relationship between the Gallery Collection Images module and the Asian front end web page are shown below:

SGalleries1

There are two ways to access Shared Galleries.

(1)  Starting with the Dashboard, click “Shared Galleries.”

SGalleries2

(2) You may use the Administration Tab.  To do this, click Administration (outlined in red on above screenshot).  When the Administration buttons are displayed, mouse-over the “Widget Manager,” and choose “Browse Shared Galleries.”

SGalleries3

Either access method will land you upon the Collection Gallery Highlights module.

How to Edit a Collection Gallery Highlight

SGalleries4

Using the Asian Collection for demonstration purposes, Click “Edit”.

SGalleries5

The following page will open up:

 How to Add an Image

On the above module, click “+ Add Image” (see above example). The following module “Create a Collection Image” will open up.  Type in the title, upload an image, then click “Create.”

SGalleries6

 How to Edit an Image

To edit the Suit of Samurai Armor image, (the first image on the module example below) click “Edit” for that image.

SGalleries7

You will open up the following page.  After making your changes, click “Save.”

SGalleries8

Media Manager

The purpose of Media Manager is to manage the content files used within your website.  You may access the  Media Manager module one of two ways:

(1)       On the Dashboard (outlined in red in this example) OR

(2)       The Administrative tab, File/Media Manager

Media1

If you click the Administrative tab, you have the same options available.  Mouse-hovering “Page Manager” button opens a list of three options (see below).

Media2

You may browse the folders in two of the following ways:

 1.  Use the Folder Browser (see below).  When you click the “+” signs, the files are listed below the folders (See examples 
Media3  Media4

2.  Secondly, to expand the folders is to click one of the blue folder icons (PDF, Documents or Images).

Media5

The results of the folders expanded to sub-folders are shown in the following examples:

 Media6
How to Create a New Folder
 
Click “Create Folder”. 
 Media7

You will be presented with the following screen:

Media8

Enter the folder name (the example shown here is “TEST”)

Media9

Click “Create”.  The “TEST” folder has been created (see below).

Media10

How to Delete a Folder

Click Delete.  You will get the following screen.  To delete the “TEST” file we just created in the given example, you would click on the “TEST” folder.

Media11

You would be presented with the following prompt:

Media12

Click OK to proceed with the deletion.

 How to Rename a Folder

Click “Rename”.  You will get the following screen.

Media13

To rename the “TEST” folder example, choose the “TEST” folder.  You will get this screen:

Media14

Rename “TEST” to “Quizzes”. See result below.

Media13

 How to Upload Files

Click “Upload Files” button on Media Manager module.

Media16

In the example, “Add Files” was chosen; Flower.jpg was added.

Media17

To upload the file, click “Start upload” button or “Start” button.  The filename appears in green: “Flower.jpg.”

Media18

Click “Create.”  The file appears next to the folders

Media19

If you click on the new file, a screen opens up.  You have options to rename, replace or delete the file.

Media20