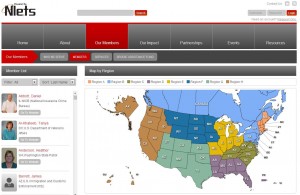
The Member Map module is used to add/import members. The front-end result is a map that displays a regionalized color-coded map, coupled with a sidebar that has a sort function so you can view the photos and profiles members for the selected region (See the following example).
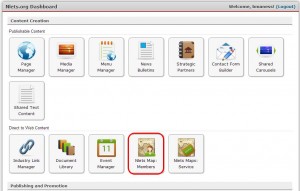
On the back end, the Nlets Map: Members module can be accessed by clicking on the dashboard (see below).
You will land on the following screen (example shows a partial screen):
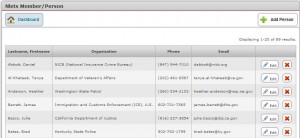
To Add a New Member/Person
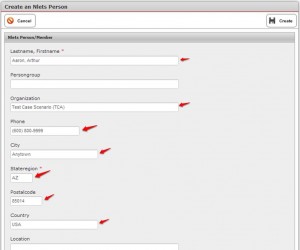
click “+ Add Person.” You will land upon the following screen (see next page for a completed test example. Note: The red asterisk (*) means that the information in that cell must be completed in order to create the new member.
After completing the Create an Nlets Person module, click “Create.”
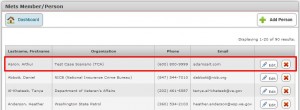
You will land on the following module. Note that the new person has been added.
To Import a Member
Click “Import Members”
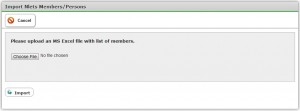
When this screen opens, click “Choose file” and “Import.”
To Edit an Existing Member/Person
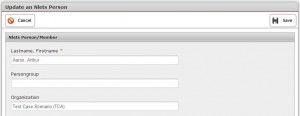
Click “Edit” on the line that you need to edit. You will be taken to the following module, where you would make your change and click the “Save” button. Or, if you change your mind about the change, you may click the “Cancel” button and you will be returned to the Nlets Member/Person module.
To delete a member/person, click the red “X” on the right-hand side of the Nlets Member/Person module.
