The contact form builder module allows C2MS users to create online contact forms that are automatically stored in a local database for later reporting with an optional notification email. This feature is perfect to create website contact forms as well as other simple data collection forms like very simple surveys and other data gathering tasks.
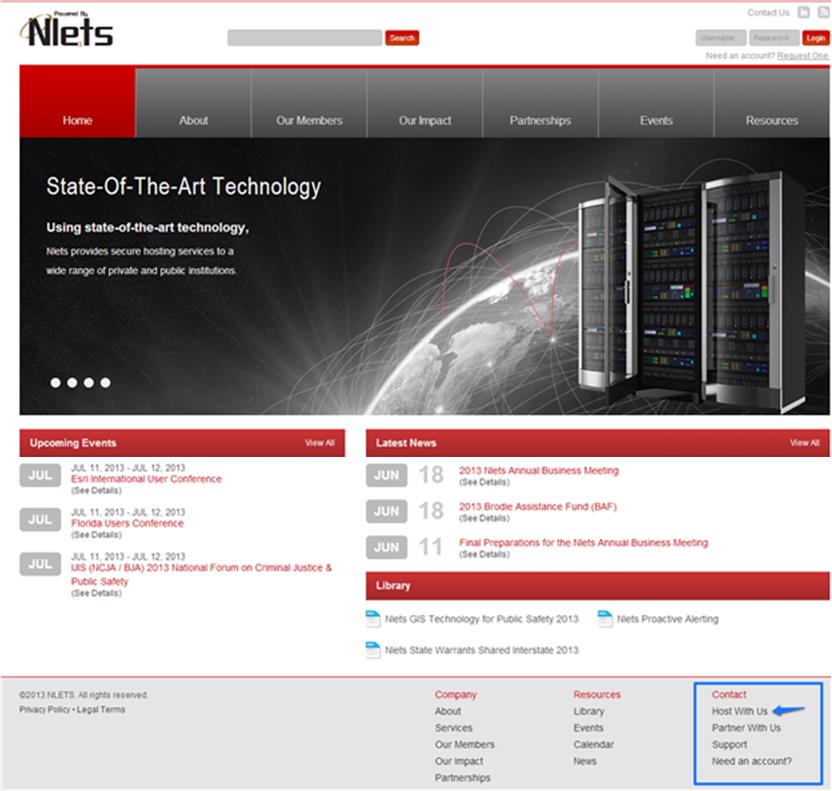
For example, this excerpt from the Nlets home page shows the area where a form may be offered to the website viewing public (see area outlined in blue).
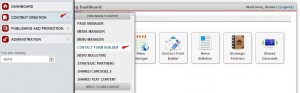
From the Nlets Dashboard, this function may be accessed by clicking the Contact Form Builder button (highlighted in red) or by the Administration Sidebar (see red arrow).

This is what the Administration Sidebar looks like when opened:
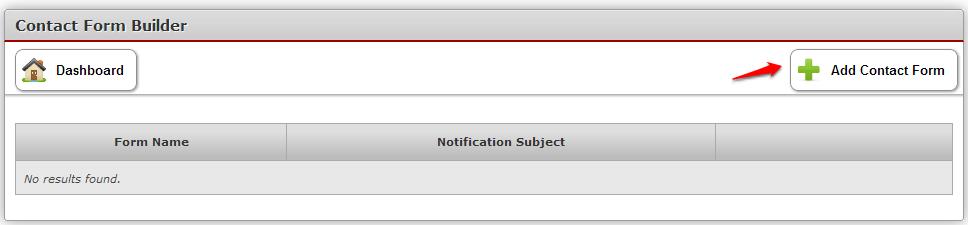
Whether you use the Contact Form Builder or the Administration Sidebar, you land upon the following module. To add a Contact form, click “ + Add Contact Form.”
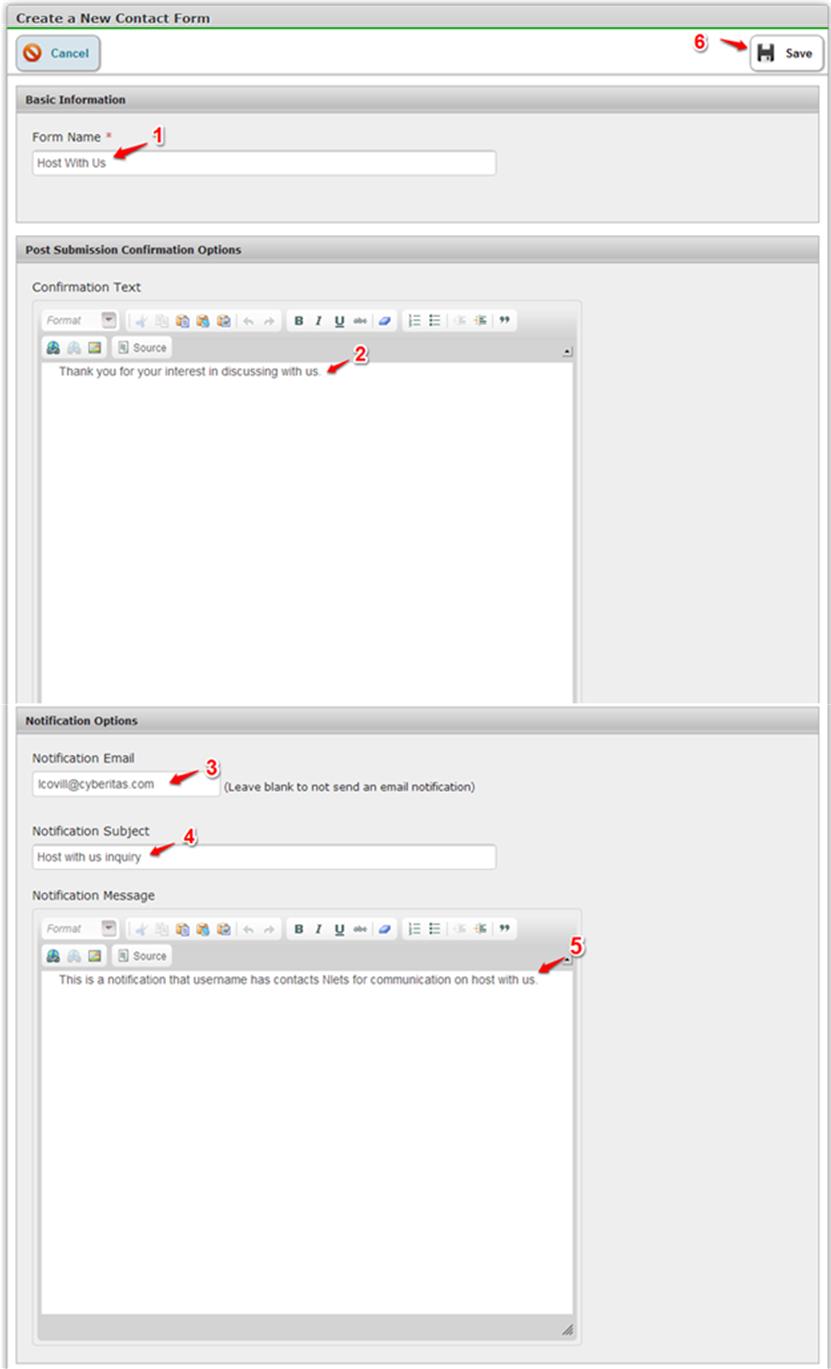
You will land upon the Create New Contact Form module (see the following example). Note: For demonstration purposes, the “Host with Us” form will be used as an example.
How to create a new contact form
- Complete “Form Name.”
- Confirmation Text – This cell is completed only if a confirmation email will be sent to the requestor.
- Notification Email – This is optional; it is only necessary if a confirmation is to be sent to the requestor.
- Notification Subject – This cell is for inputting a brief explanation of the topic of the form
- Notification Message – This is for inputting a more detailed explanation of the purpose of the form.
- When finished, click “Save.”
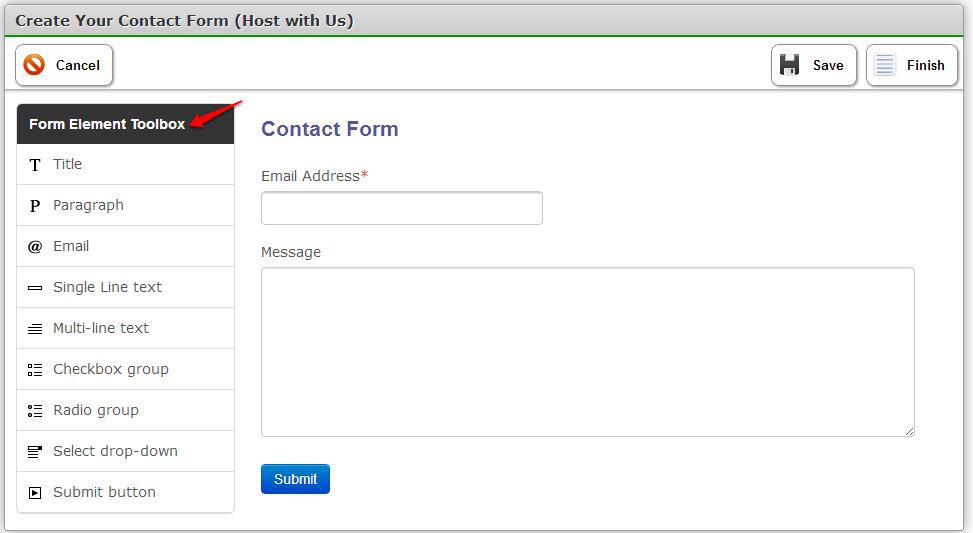
You will land upon the following module.
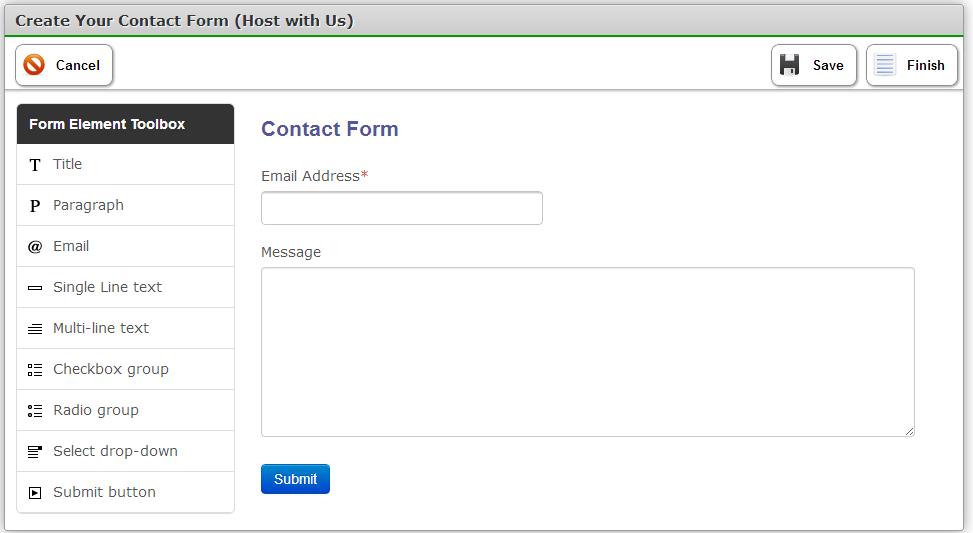
Using the Form Element Toolbox, Click “Title.”
You will be presented with this screen, where you can enter your form title.
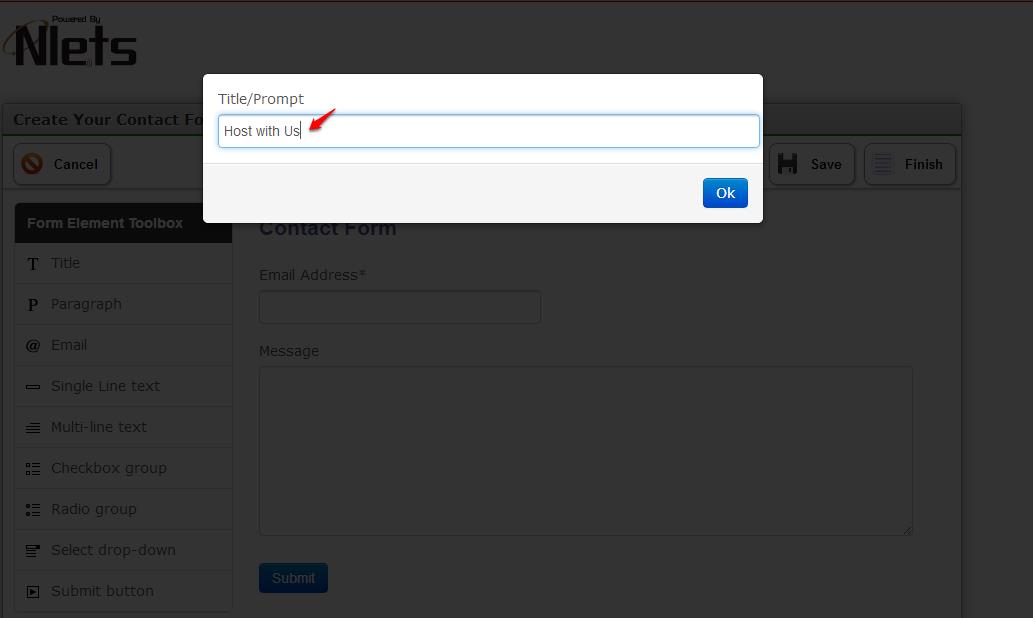
Click OK.
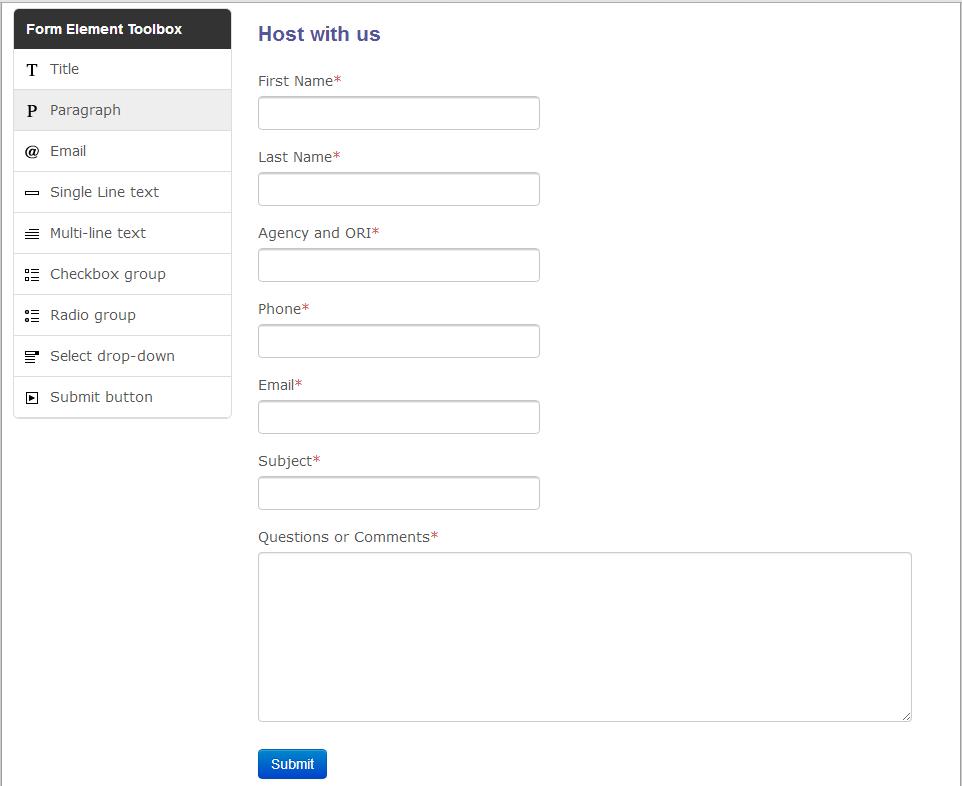
You will be taken back to Create your Contact Form. Using options from the Form Element Toolbox, repeat these steps, using the Single Line Text tool to and an other options on that list to create the individual cells. When you are finished, click the blue “Submit” button. If you are satisfied with the form, click “Finish.”
The completed module for the “Host with Us” form would look like this:
Click “Cancel” to return to the Contact Form Builder module.
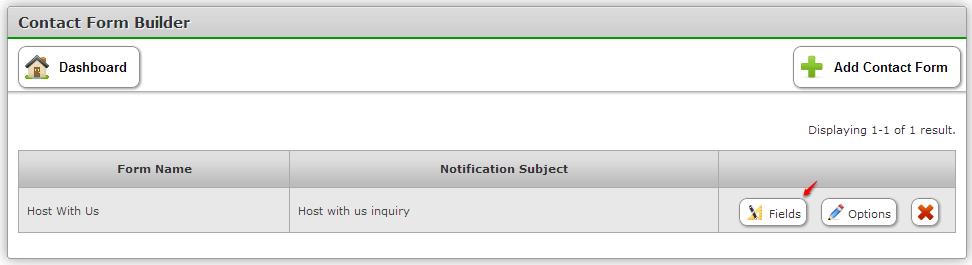
How to Edit a Form
To edit the “Host With Us” form, click “Fields.” (see below)
If you mouse-over any of the form cells, you will see editing tools.
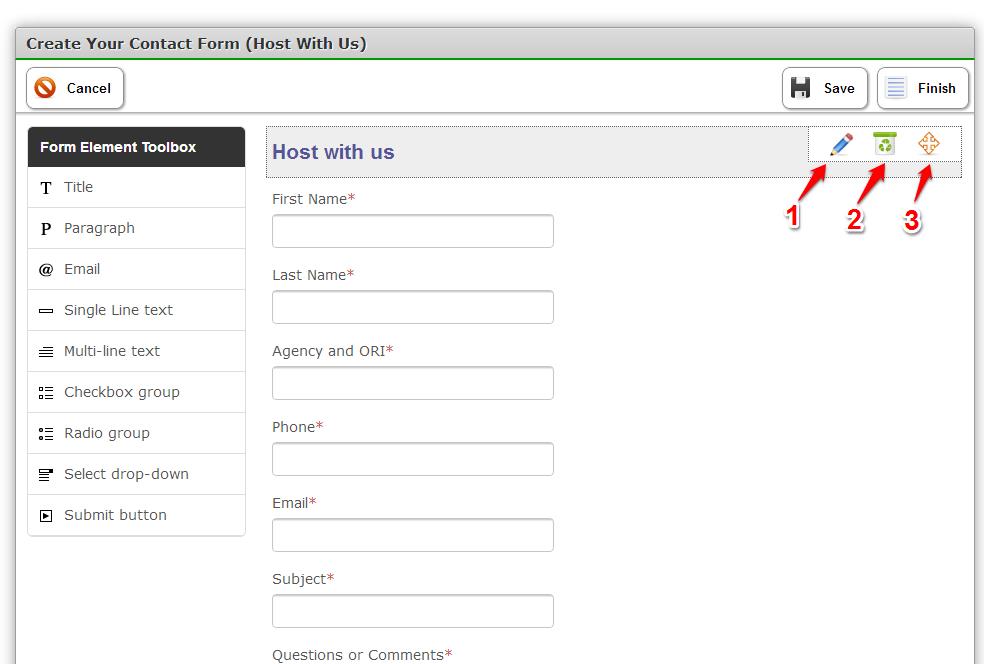
- The pencil symbol is for editing. Clicking gives you an editing screen to change the text.
- The “trash” can symbol is to delete that cell.
- Clicking on the orange plus sign makes it possible to rearrange the order of the cells. This is a “drag and drop” function.
When you are done editing, click “Save” and “Finish.”
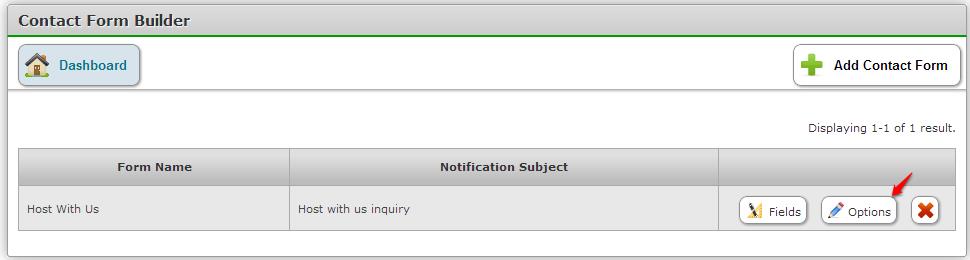
The Options button takes you to the Update Contact Form Host With Us Module.
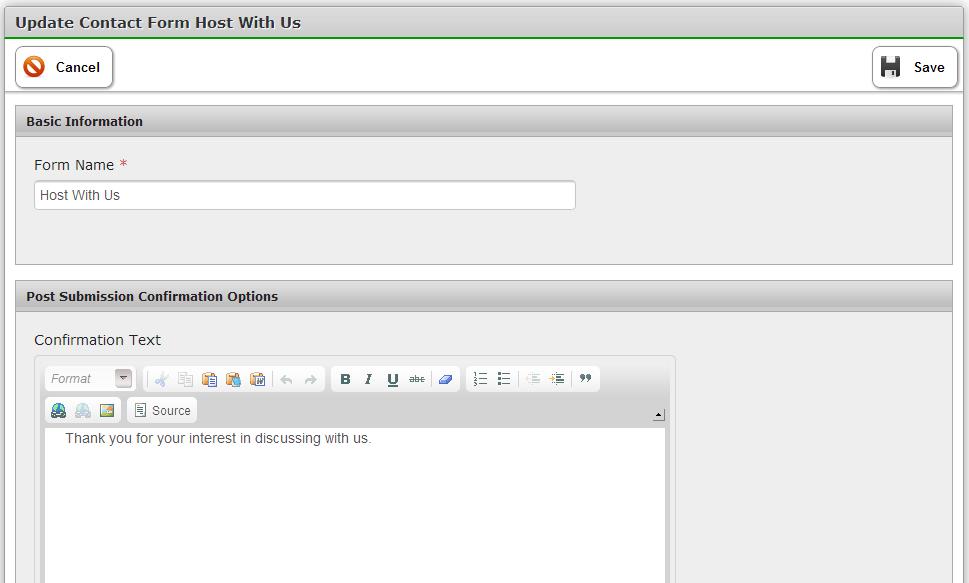
After making changes to this information, click “Save.”