Website Members

Nlets’ website contains a specialized module which allows your designated Nlets administrator to manage authorization of Nlets website members. This enables you to designate the website resources that users of your company’s website are allowed to access. Please keep in mind that your company’s role structure and role names may differ from the examples presented in the following pages.

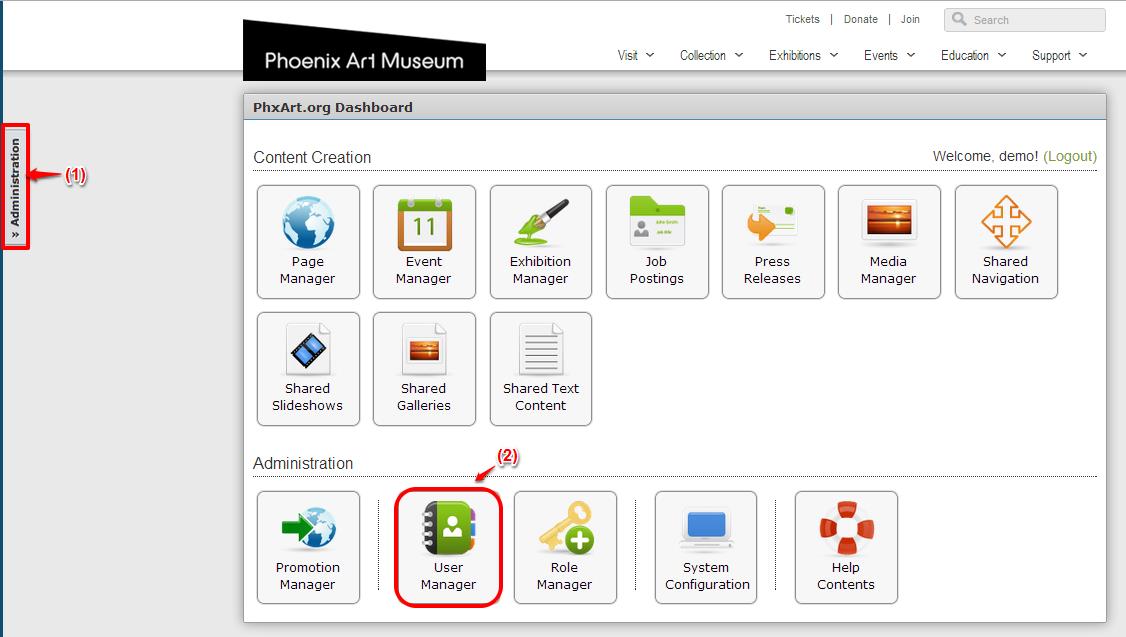
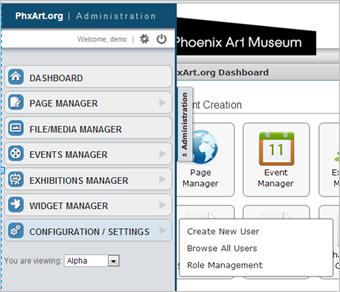
This module can be accessed on the “Administration” section of your Nlets Dashboard.

WM1


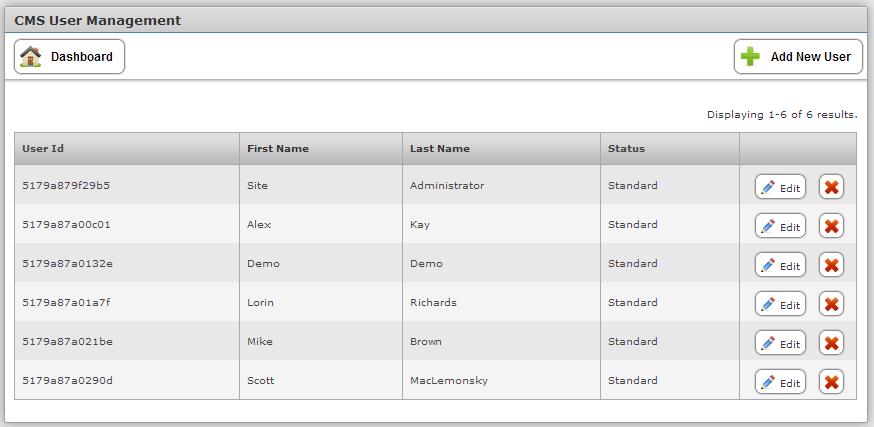
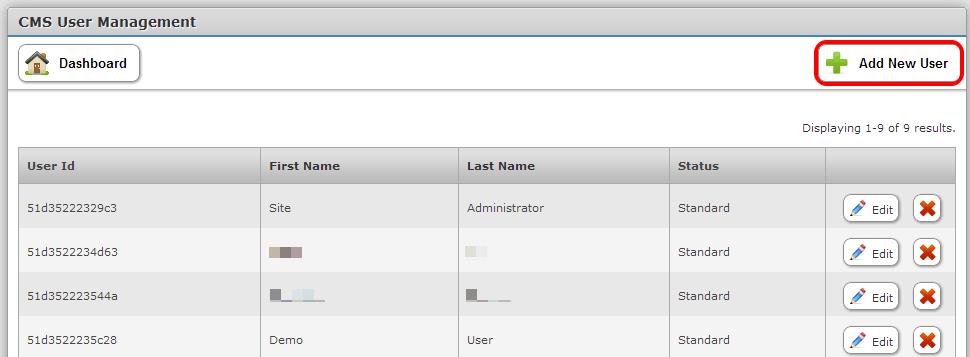
Clicking “Website Members” takes you to the Website Members module:

WM2


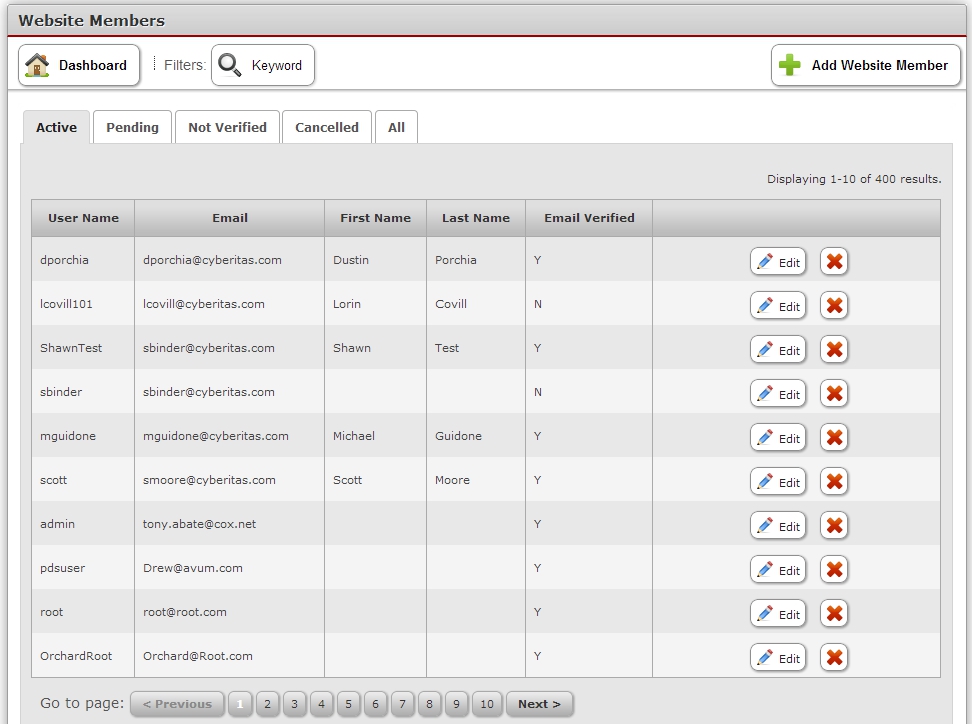
Note the tabs across the top of the module.  By clicking these tabs, you can view Active, Pending, Not Verified, Cancelled and All listings.  You may also search by clicking “Keyword” button.

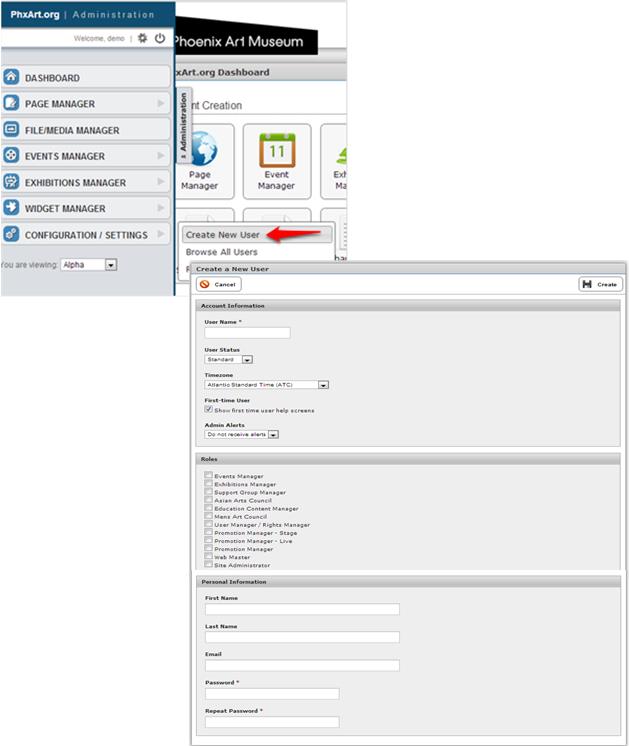
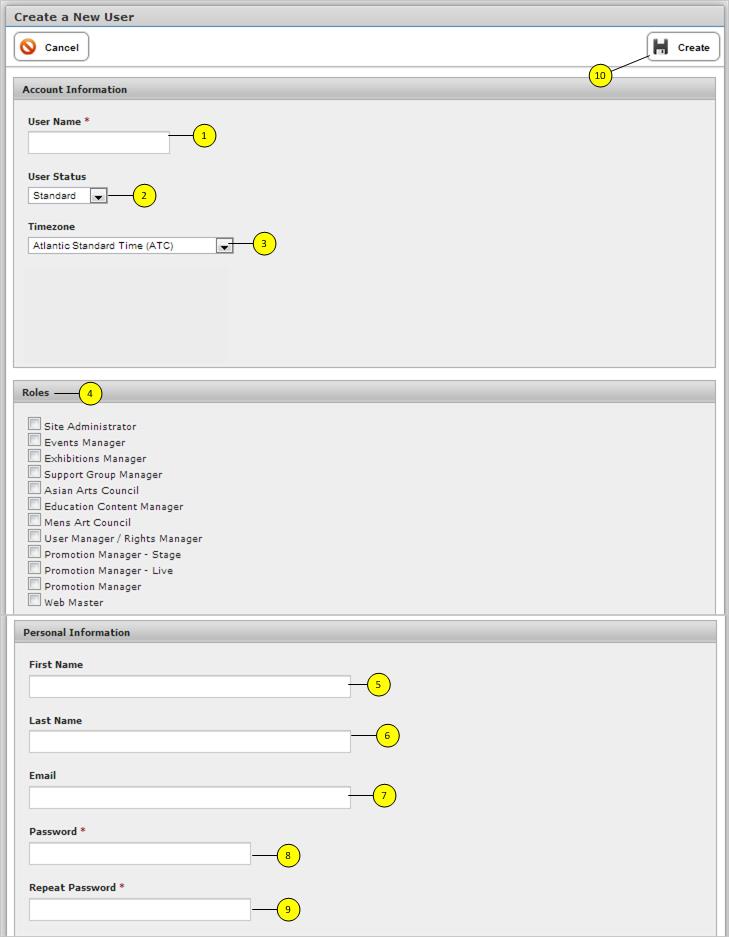
To Add a new Website Member, click “+ Add Website Member.”  You will land upon the following form.

WM4


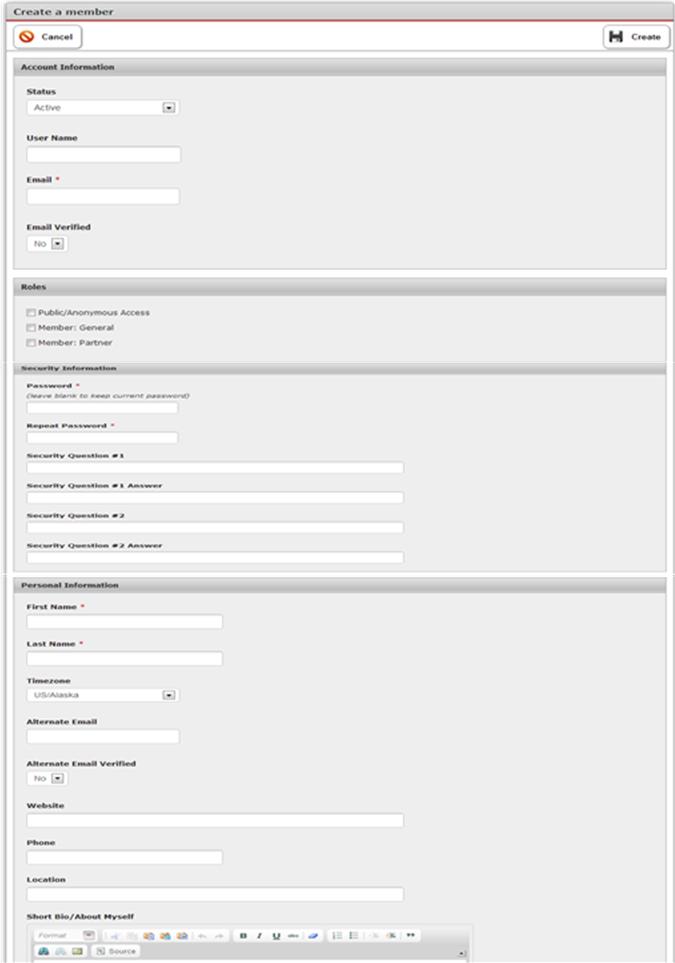
To create a member, please note that all information marked with a red asterisk (*) must be entered.  When you are finished, click “Create.”


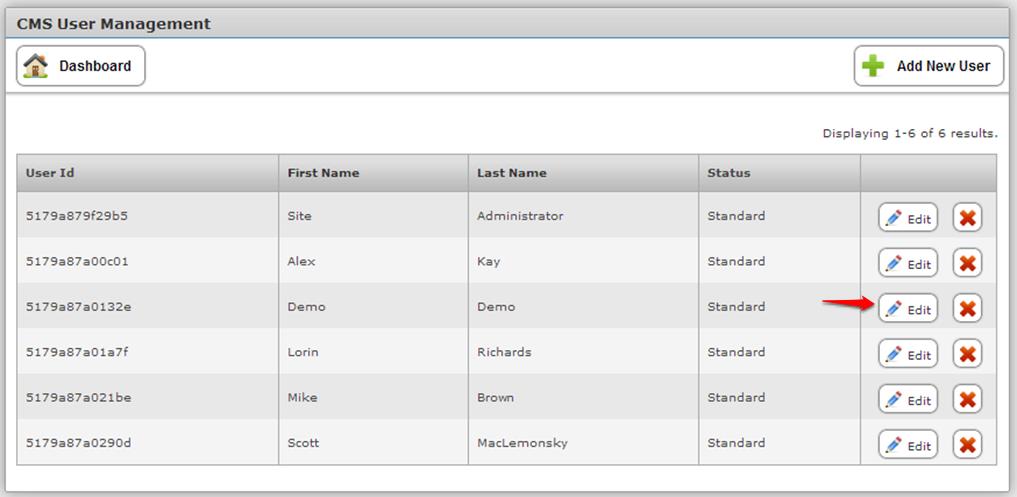
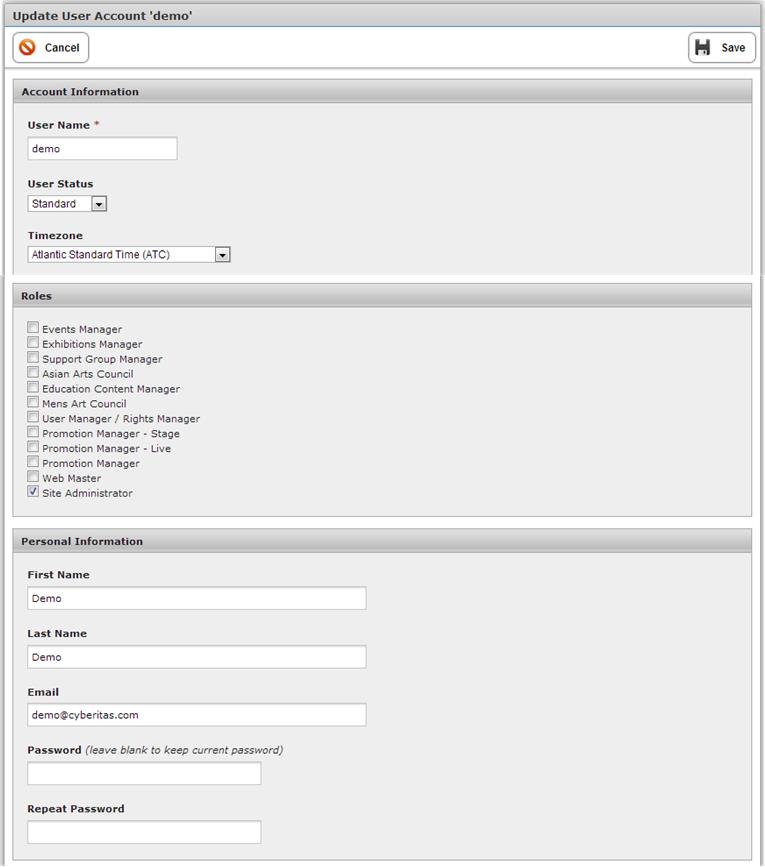
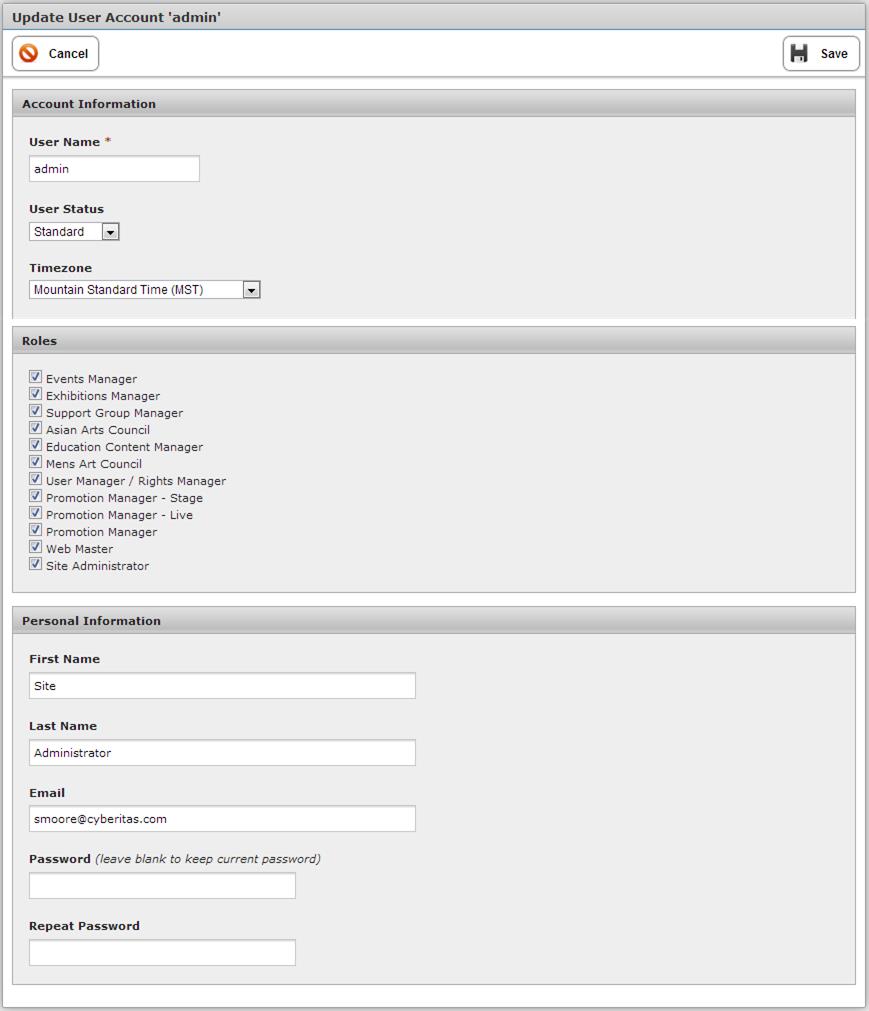
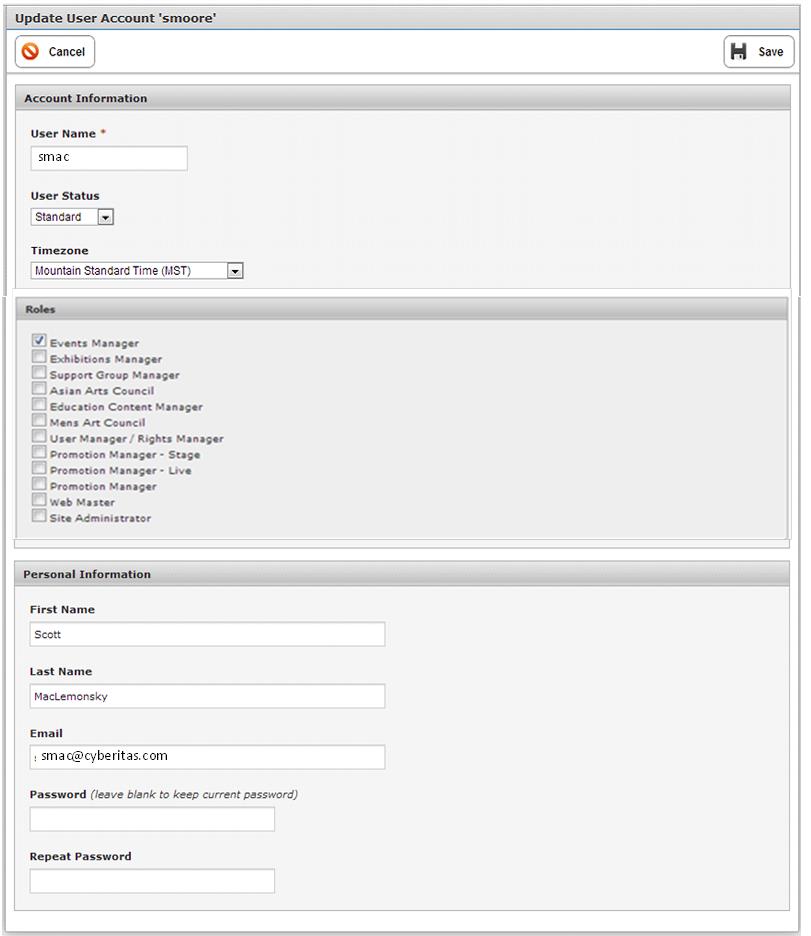
To edit an existing member, click “Edit” on the Website Members module.  A completed form (It is like the example on the previous page, only it will say “Update Member”) will open up.  After you have made your change, click “Save.”

To delete an existing member, use the red “X” on the Website Members module.


User Manager

The purpose of User Manager to issue permissions to designated administrative website users. This is to provide access so these users can make changes on select areas of your CMS website.

There are two ways to access User Manager:

(1)       Using the Administration Tab
(2)       User Manager button on the Dashboard

UserMgr1

Here is a screenshot of the menu that becomes available when you click the Administrative tab.

When you mouse-over the “Configurations/Settings” button, the “Create New User” and  “Browse All Users” options become available (see the following example).

Usermgr2

You can either click “User Manager” button on the Dashboard OR click the “Browse New Users” to arrive on CMS User Management (see example below).

Usermgr3

An advantage of using the Administration Tab to access the User Manager is the ability to directly access the “Create a New User” form.  (See example below).

UserMgr4

How to Add a New User

As explained in on the previous example, you may add use the Administration Tab to immediately access the “Create a New User” form.

If using the Dashboard, you would arrive on the CMS User Management screen.  Click “+ Add New User” (see below):

Usermgr5

You would then land upon the “Create A New User” (see the next page).

 Note: User Types and Roles Vary from Company to Company. As you look at this example, please keep in mind that your company’s listing of roles will most likely differ from this example.  This is also affected by the User Roles assigned by your company’s management.  User Roles are established within the Role Manager module (see the next chapter on “Role Management.”)

Usermgr6

  1. Enter User Name (coordinate this with your company’s system administrator)
  2. Choose user status from drop-down (choices are Standard and Suspended)
  3. Choose time zone from drop-down (there are numerous choices)
  4. Roles – check the boxes/functions the user is to be given the authority to access and modify.
  5. Enter First name
  6. Enter Last Name
  7. This is for your email address
  8. Enter your password
  9. Repeat password to verify.
  10. Click “Create” (Note: if you change your mind, you may click “Cancel.”)

How to Edit an Existing User

Usermgr7

From the above module, select “Edit” to select a given user.  You will arrive at a screen similar to the following example.  After making your updates, click “Save.”  (See the following example).

Usermgr8

Examples of Access

The following page shows the access of the site administrator (admin).  The user in this role has the most access; all Role boxes are checked, so he/she has the permissions to change all the modules in the website.

Usermgr9

Here is an example of a user that has minimal or basic access.

Usermgr10