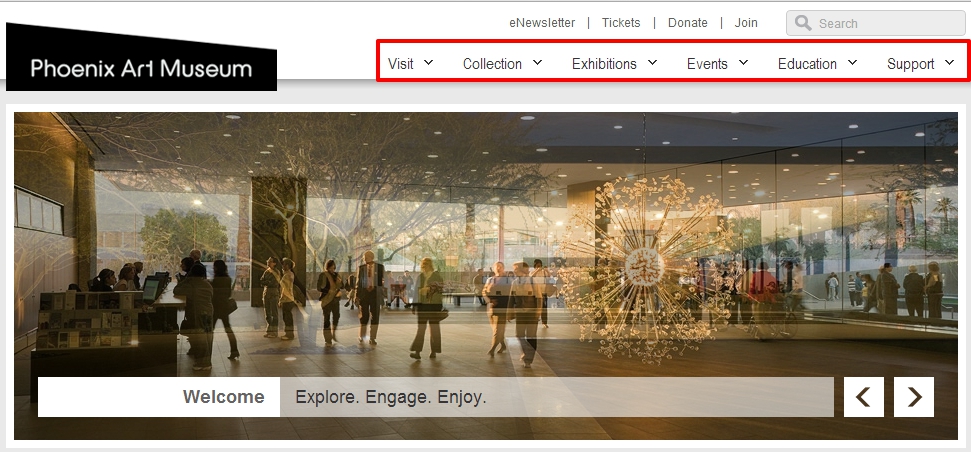
The Shared Navigation modules allows ease in managing the Top Level Navigation on your website. The following example shows top navigation on the front-end of your website (outlined in red):
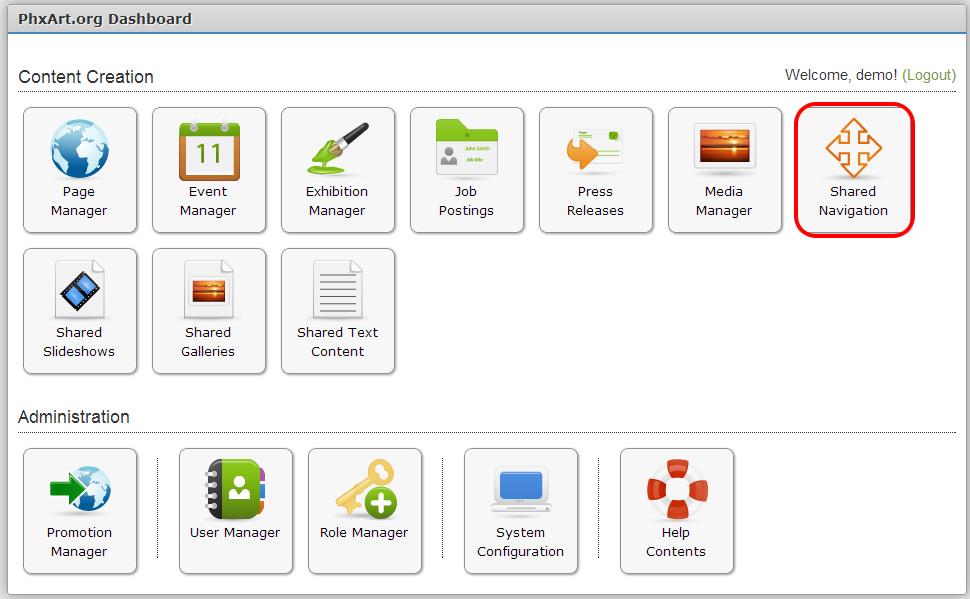
To access Shared Navigation, click “Shared Navigation” on the Dashboard.
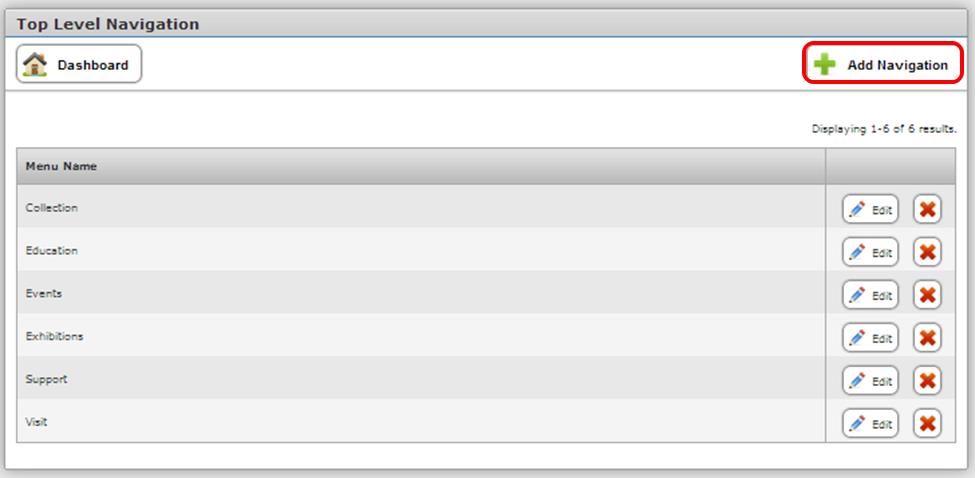
You will land upon the following screen:
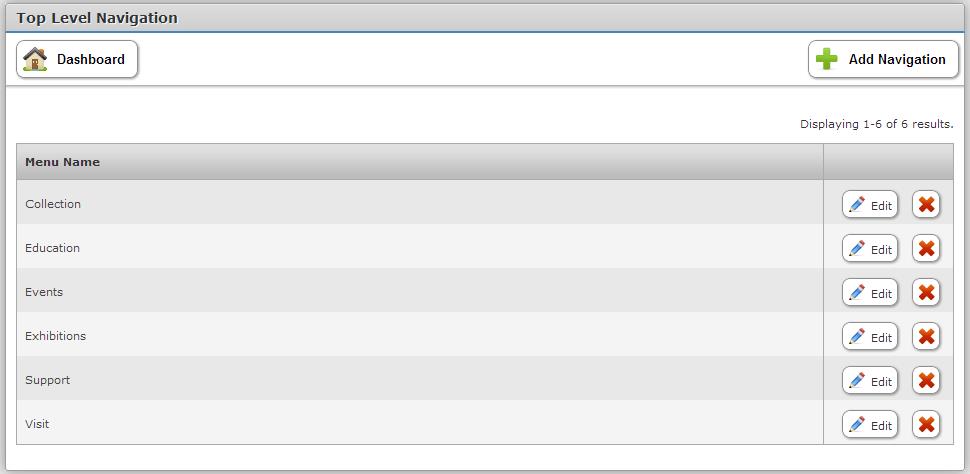
How to Edit a Menu Item on Top Level Navigation
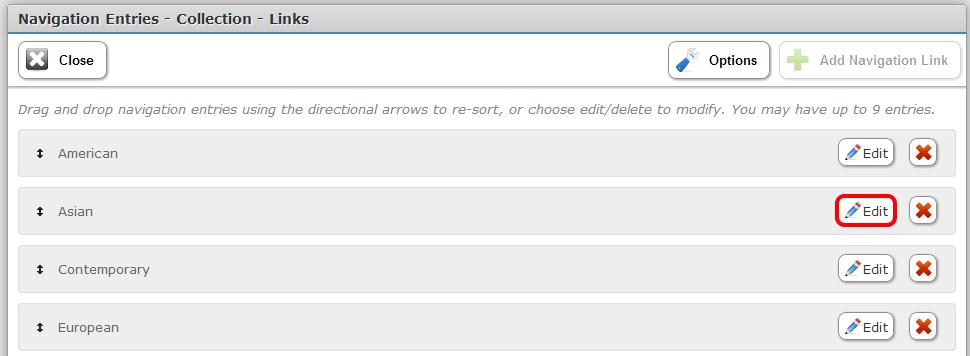
Using “Collection” for this example, click “Edit”. The following screen will open:

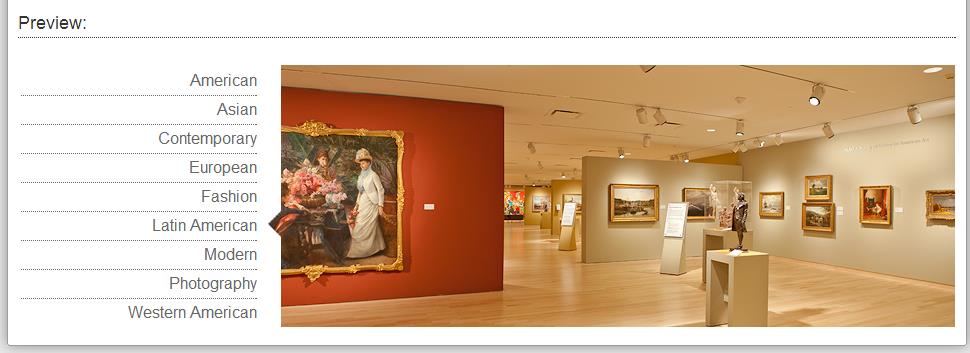
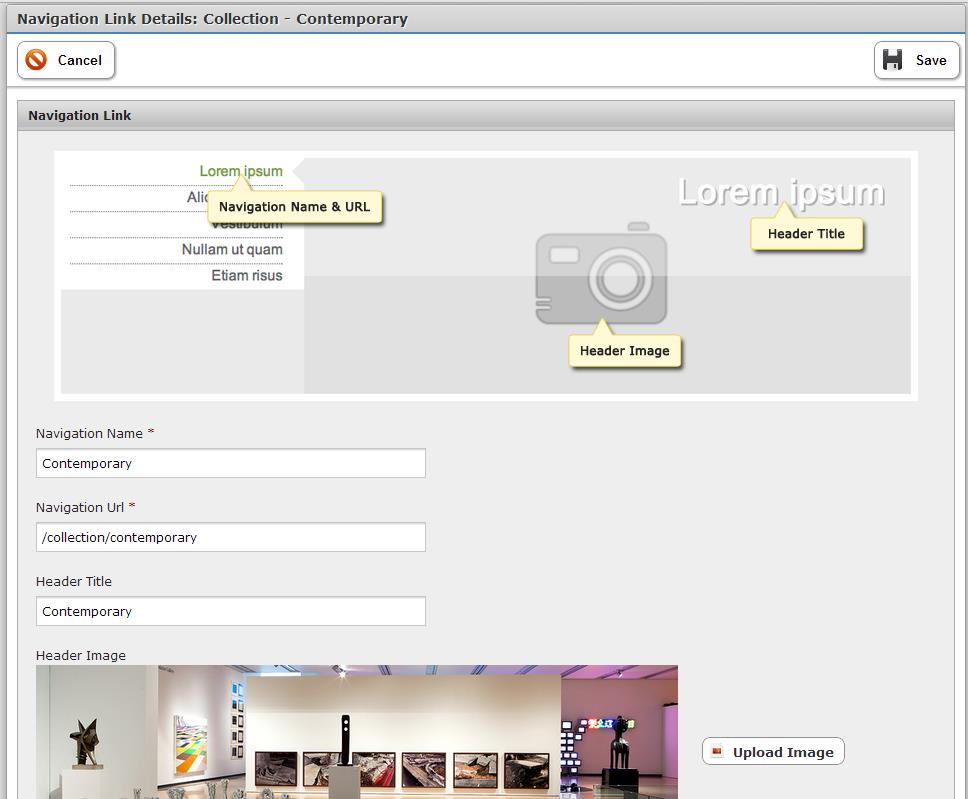
To Edit a Navigation Entry, click “Edit”. (For this example, we are using “Contemporary”—See below).
The following screen is presented. Edit and click “Save”.
How to Add a Section
From the following module, click “Add Navigation.”
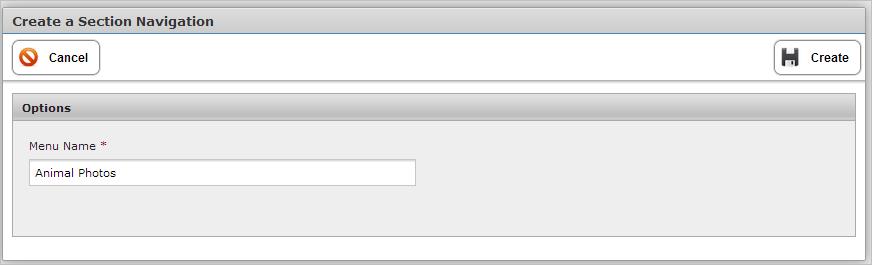
You will arrive this screen: (Note: A menu item by the name of “Animal Photos” is used in this example). After entering the name, you would click “Create”.
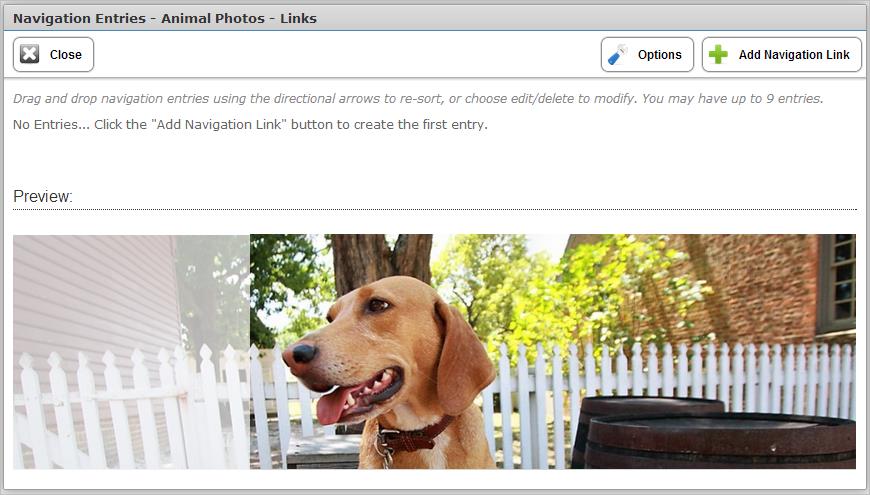
The following screen will be presented. Click the “Options” button
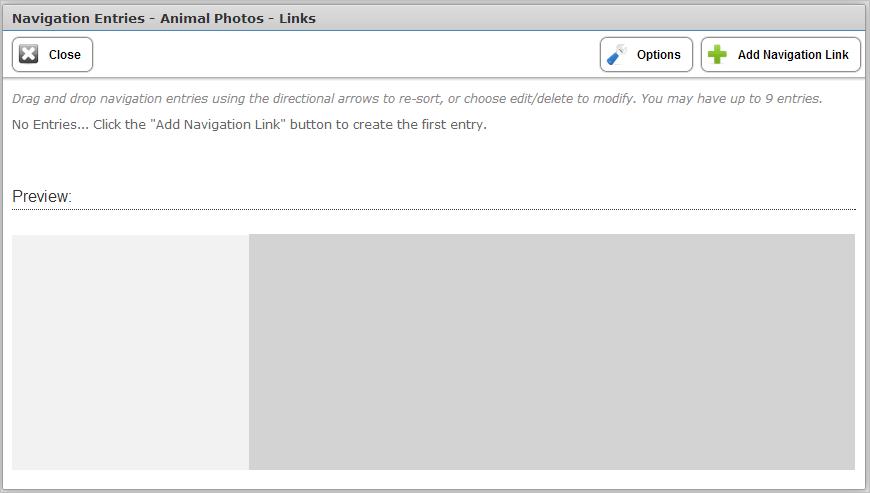
The Navigation Options screen opens. This allows you to upload an image. Click “Upload Image” button.
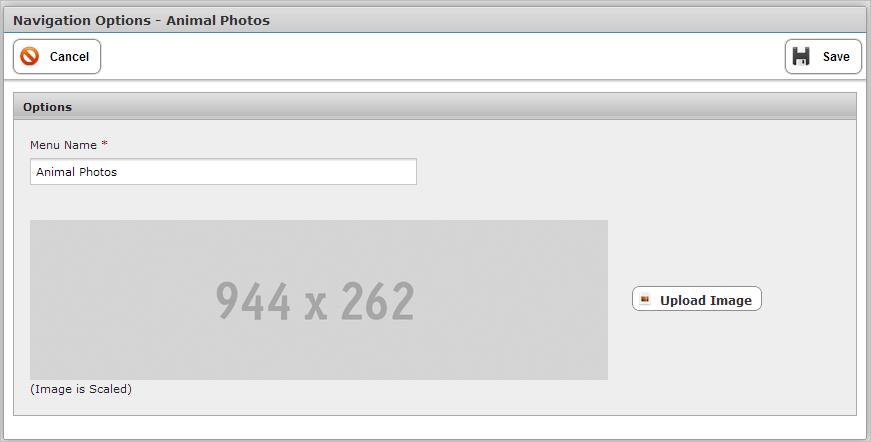

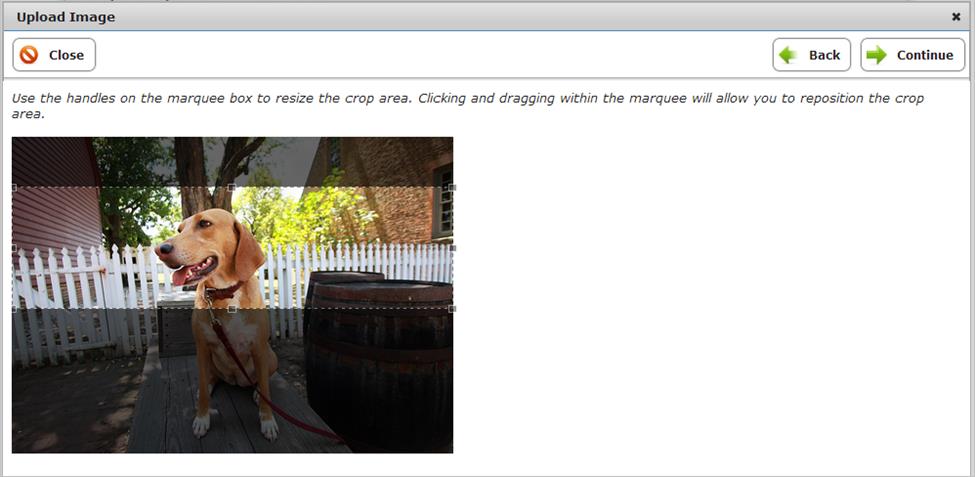
Click “Add File”. Choose an image from your picture file. Or, if there is a Library, you may click “Library.” Follow the instructions for cropping your photo. Click “Continue”.
Select “Save”.
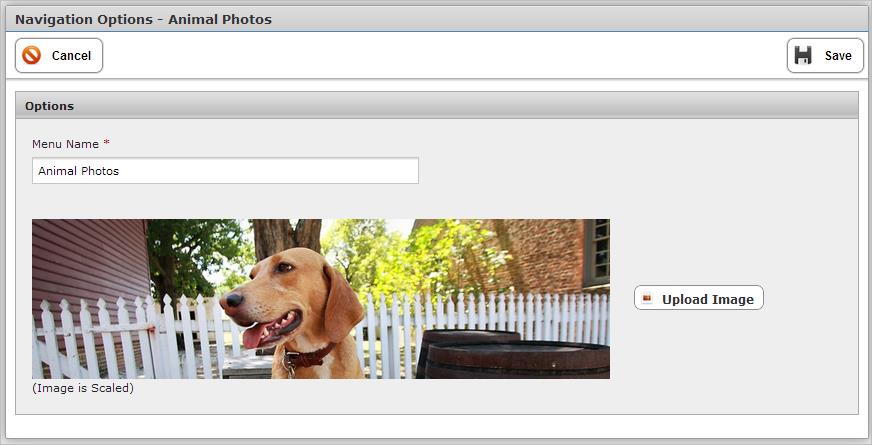
The following screen displaying a preview will appear.
Click “Add Navigation Link.” The Link Details page will open:
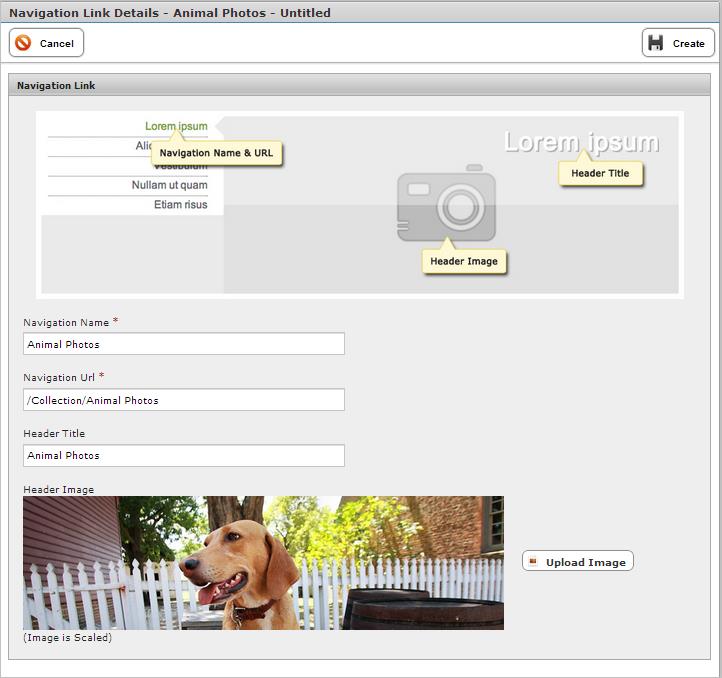
Click “Create”.