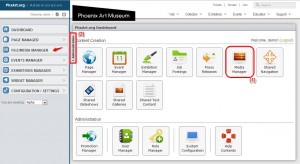
The purpose of Media Manager is to manage the content files used within your website. You may access the Media Manager module one of two ways:
(1) On the Dashboard (outlined in red in this example) OR
(2) The Administrative tab, File/Media Manager
If you click the Administrative tab, you have the same options available. Mouse-hovering “Page Manager” button opens a list of three options (see below).
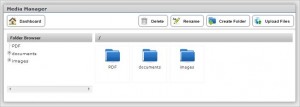
You may browse the folders in two of the following ways:
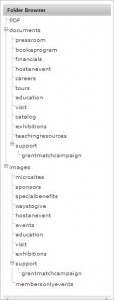
1. Use the Folder Browser (see below). When you click the “+” signs, the files are listed below the folders (See examples
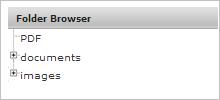
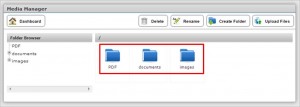
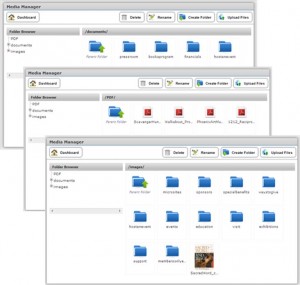
2. Secondly, to expand the folders is to click one of the blue folder icons (PDF, Documents or Images).
The results of the folders expanded to sub-folders are shown in the following examples:
How to Create a New Folder
Click “Create Folder”.
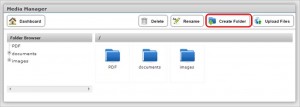
You will be presented with the following screen:
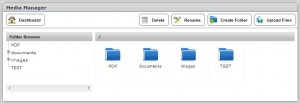
Enter the folder name (the example shown here is “TEST”)
Click “Create”. The “TEST” folder has been created (see below).
How to Delete a Folder
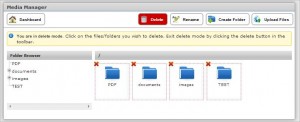
Click Delete. You will get the following screen. To delete the “TEST” file we just created in the given example, you would click on the “TEST” folder.
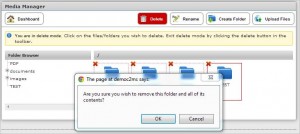
You would be presented with the following prompt:
Click OK to proceed with the deletion.
How to Rename a Folder
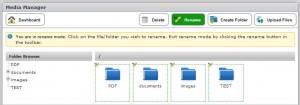
Click “Rename”. You will get the following screen.
To rename the “TEST” folder example, choose the “TEST” folder. You will get this screen:
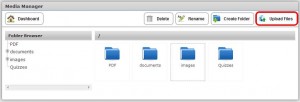
Rename “TEST” to “Quizzes”. See result below.
How to Upload Files
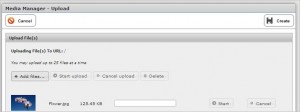
Click “Upload Files” button on Media Manager module.
In the example, “Add Files” was chosen; Flower.jpg was added.
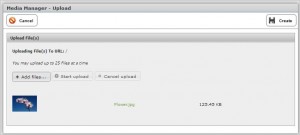
To upload the file, click “Start upload” button or “Start” button. The filename appears in green: “Flower.jpg.”
Click “Create.” The file appears next to the folders
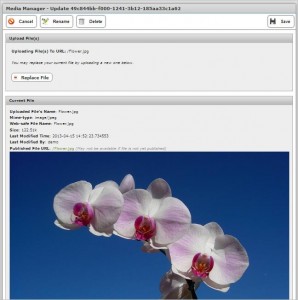
If you click on the new file, a screen opens up. You have options to rename, replace or delete the file.
